Quick Start
If you are using this product for the first time, it is recommended to carefully read this section. By completing a few simple practical cases, you can quickly learn how to create with ICBricks. For experienced users, you may skim through or skip to later sections to explore more advanced features and application techniques.
With these curated examples, you will quickly master ICBricks’ operation methods and experience its powerful functionality and creative joy!
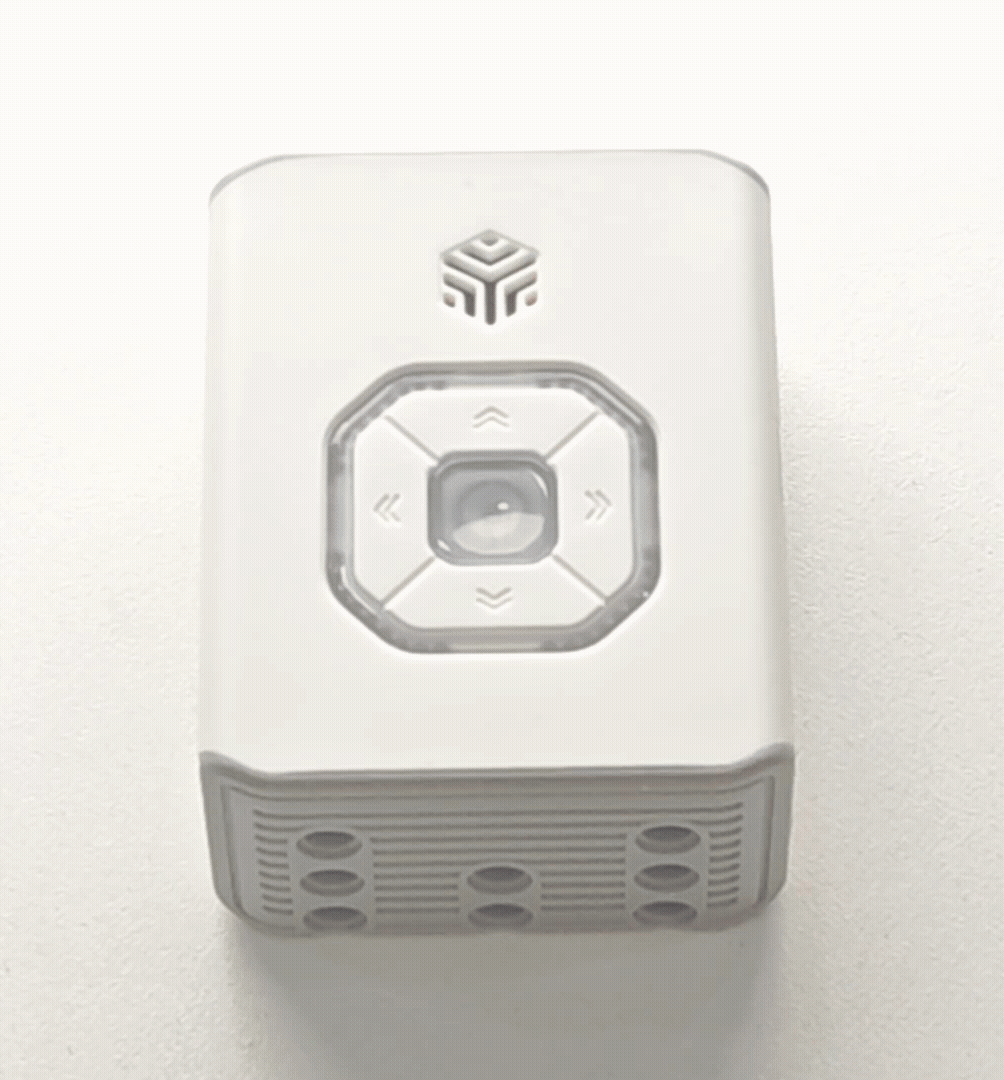
Power On
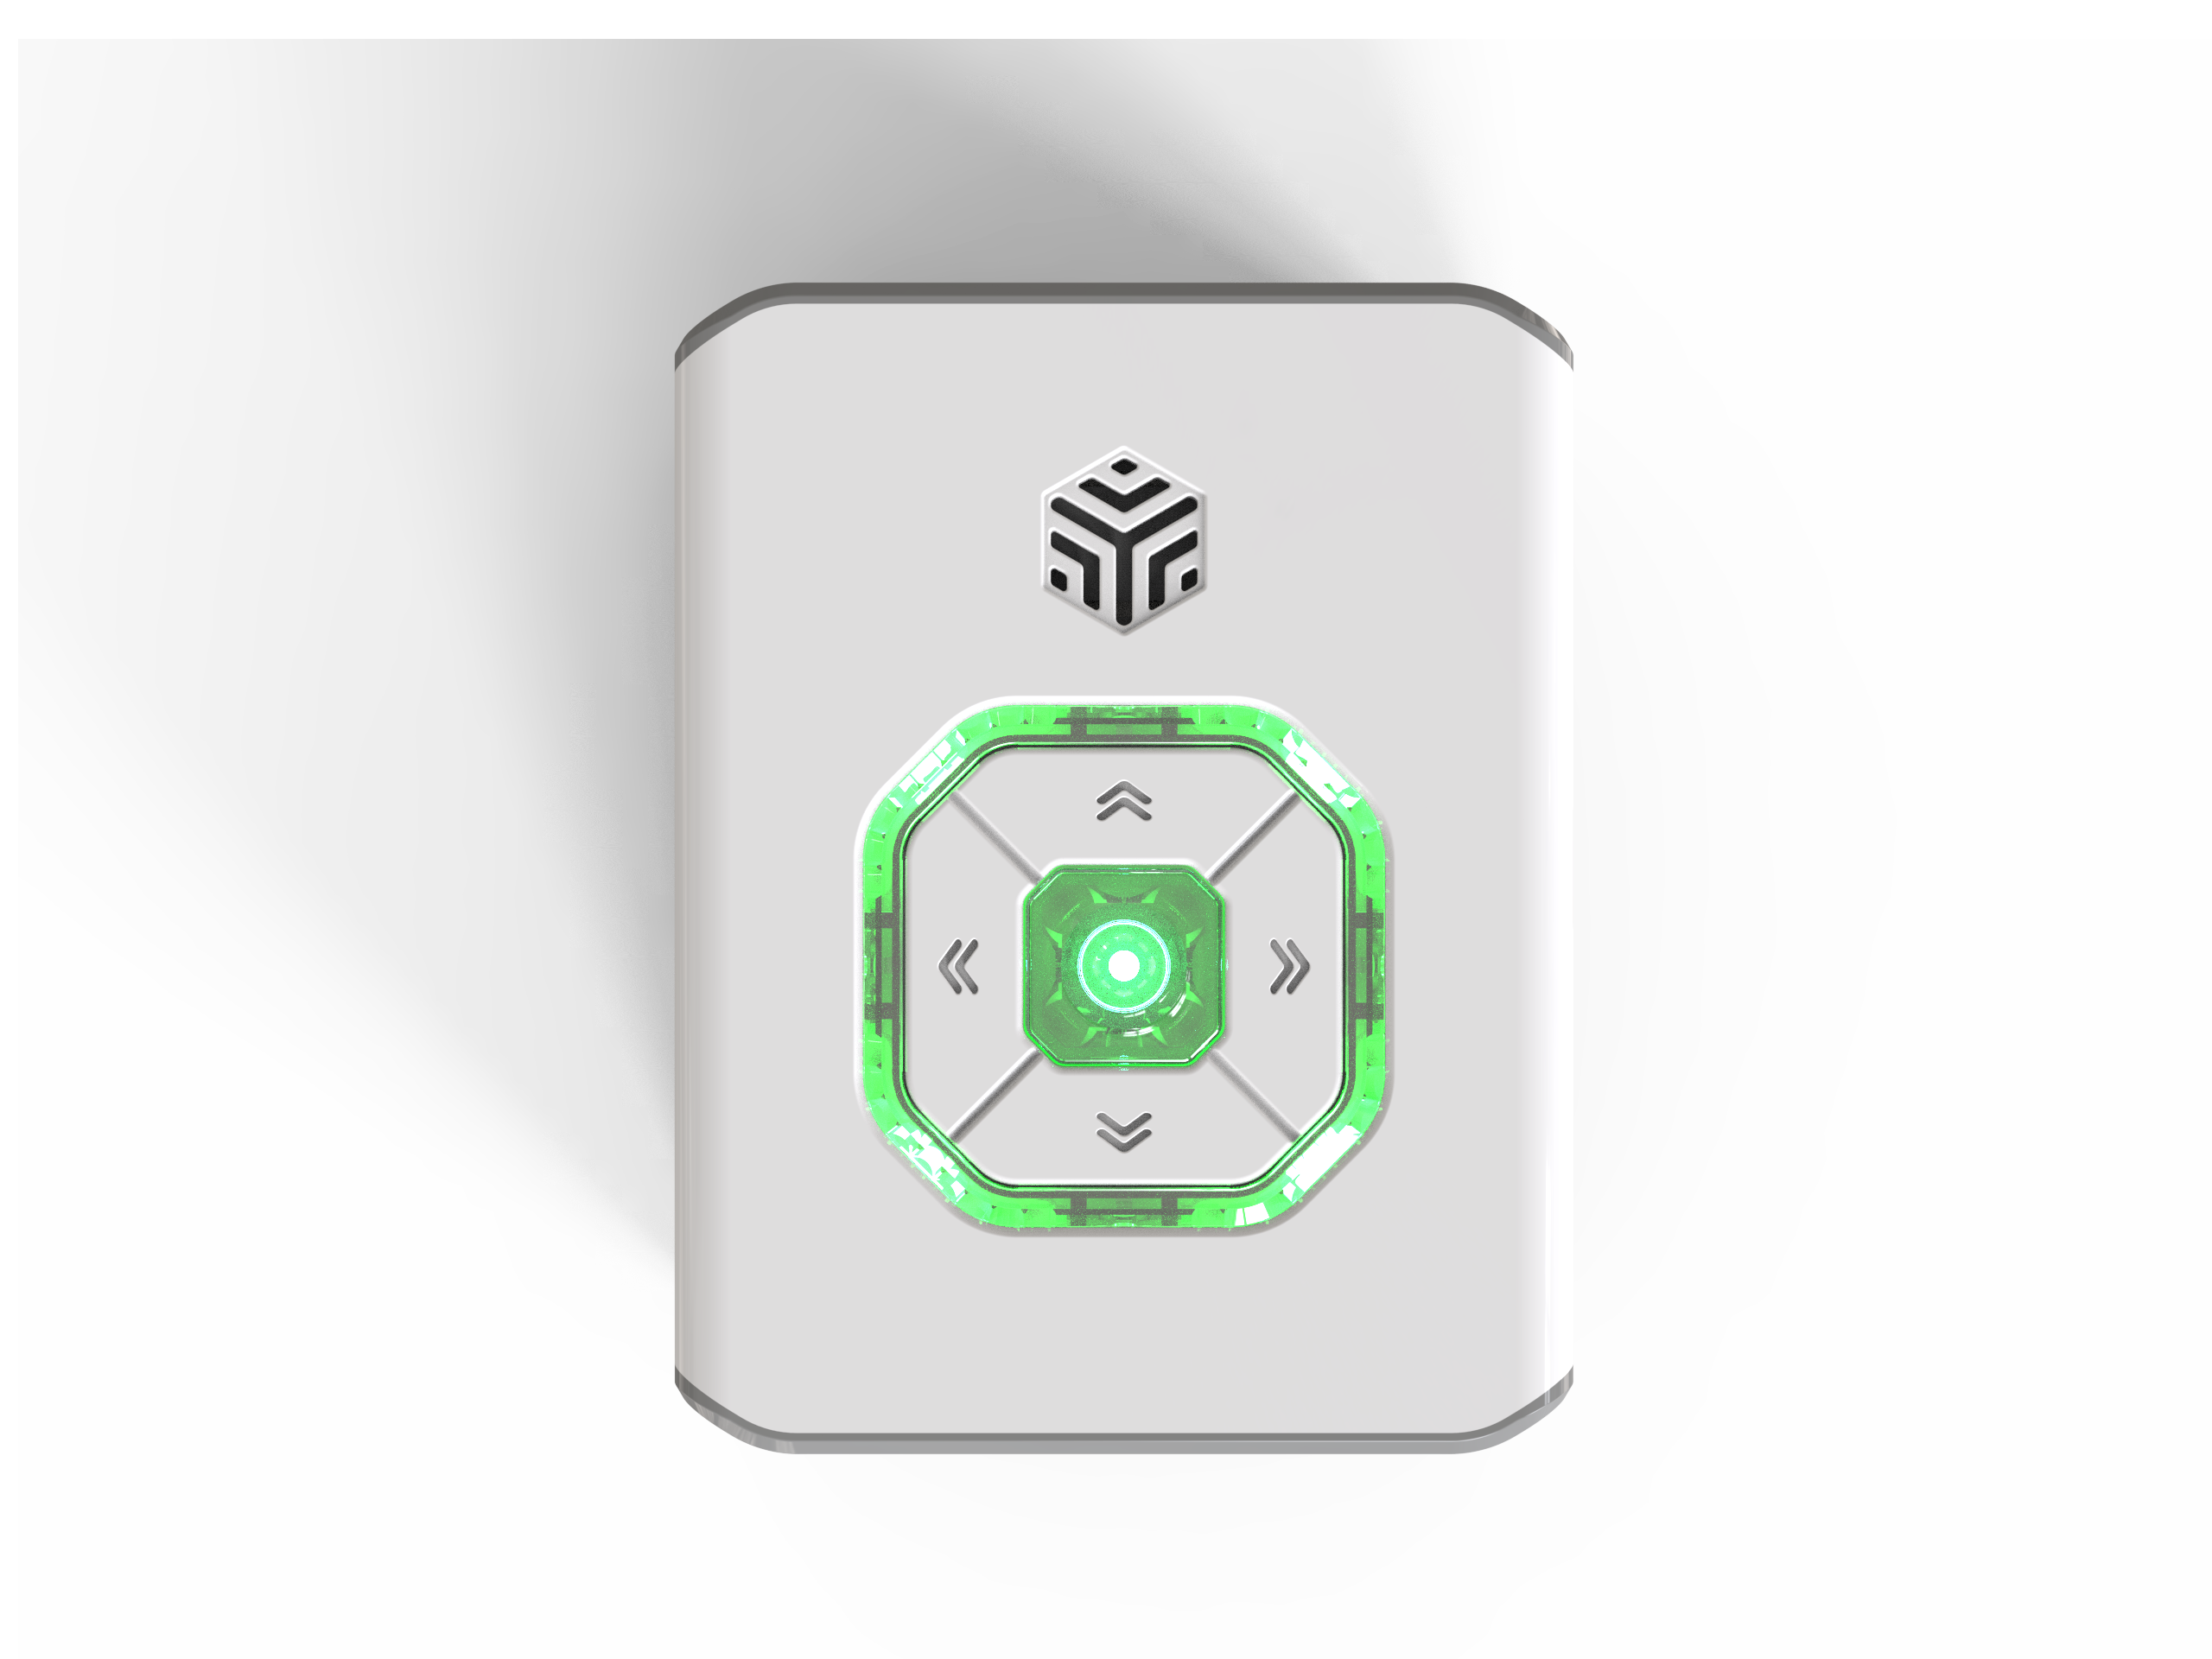
Press and hold the hub’s power button for 2s to turn it on. A short prompt sound will play during startup. Once successfully powered on, the indicator light and button breathing light will remain steady.
Direct Control: Controlling the Motor
Preparation
|
|
|---|---|
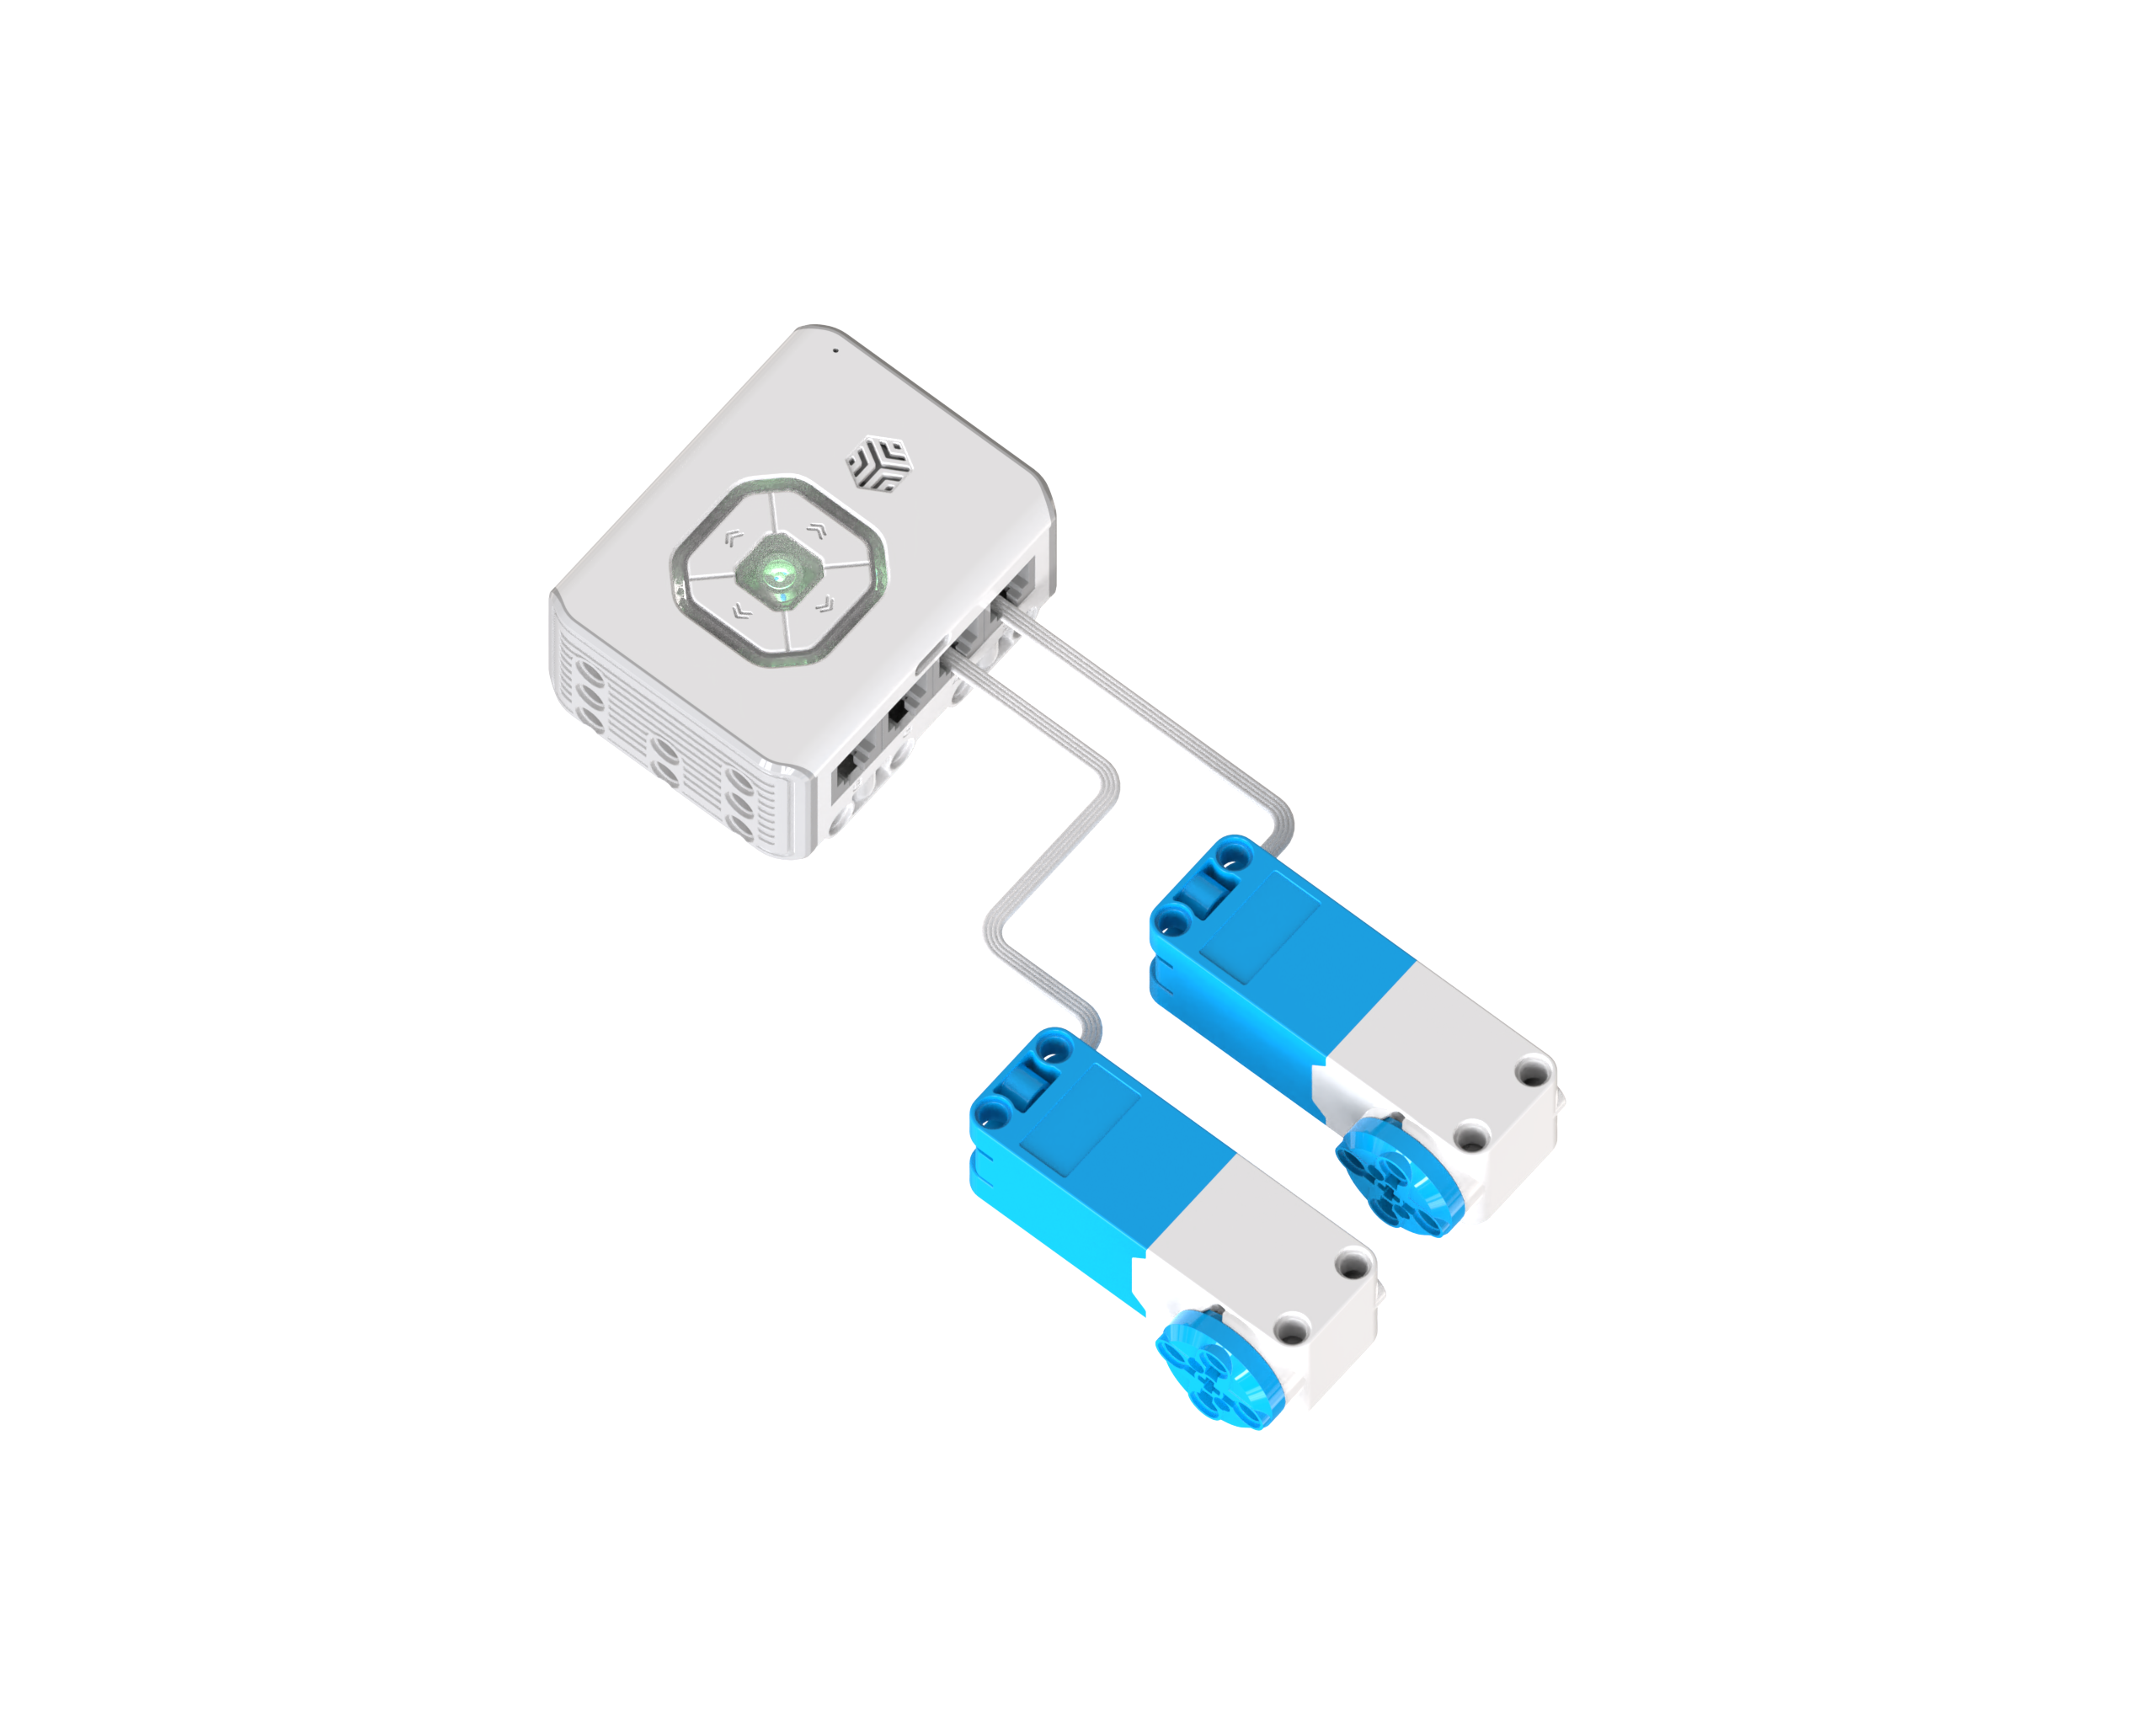
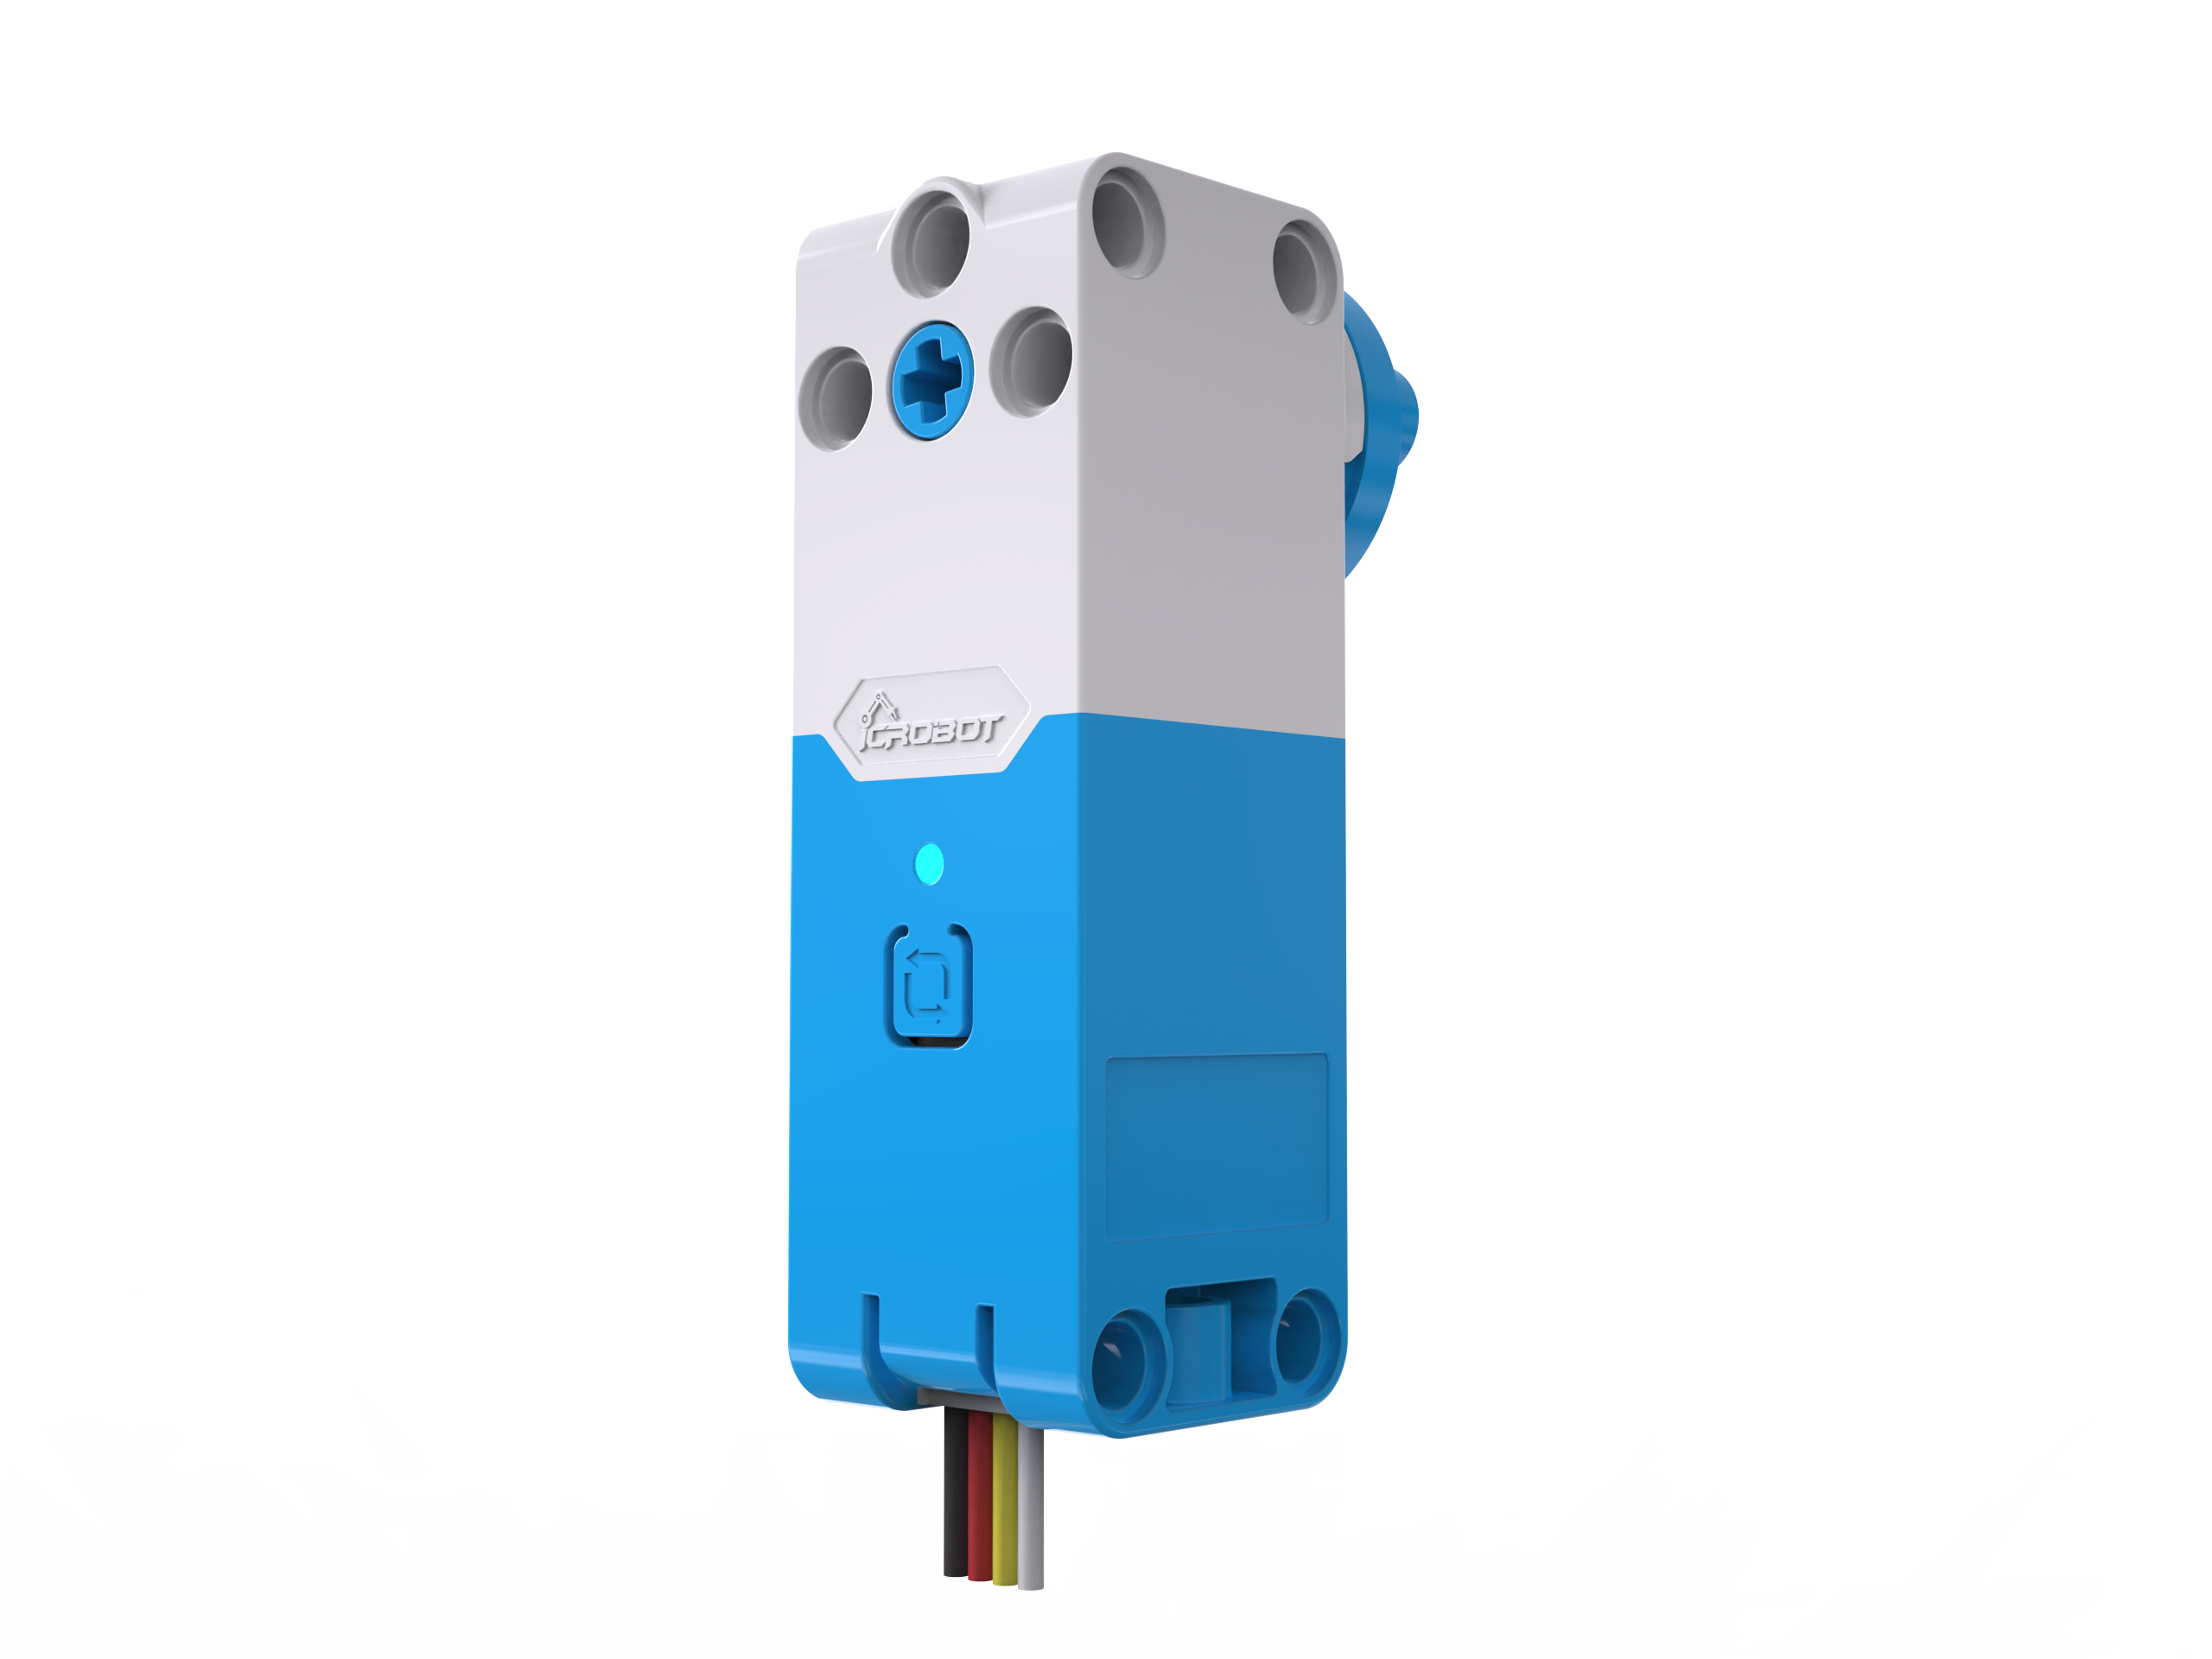
ICBricks Hub × 1 |
Servo Motors × 2 |


Steps:
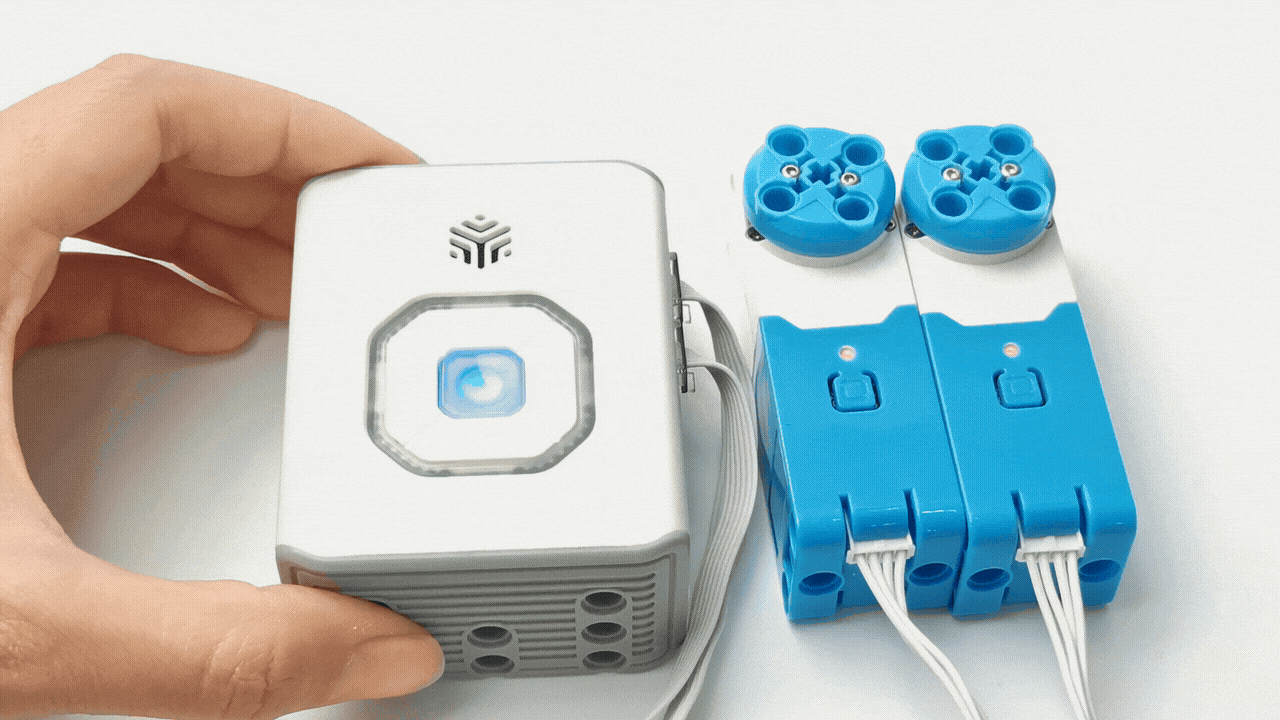
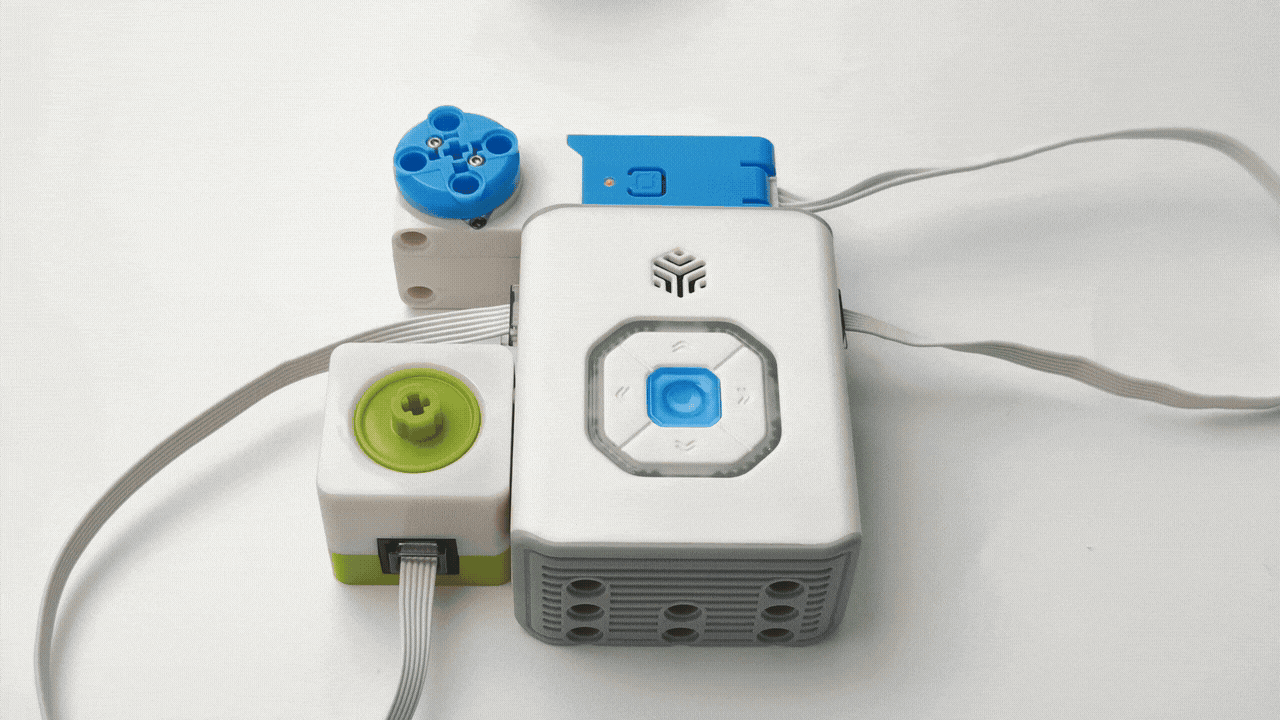
Connect the Motors
Power on the main controller. Use the servo motor adapter cables to connect the two motors to ports 2 and 4. When connected successfully, the motors will emit a prompt sound.
Demonstration
Press the up and down buttons on the hub to observe the movement of the servo motors.
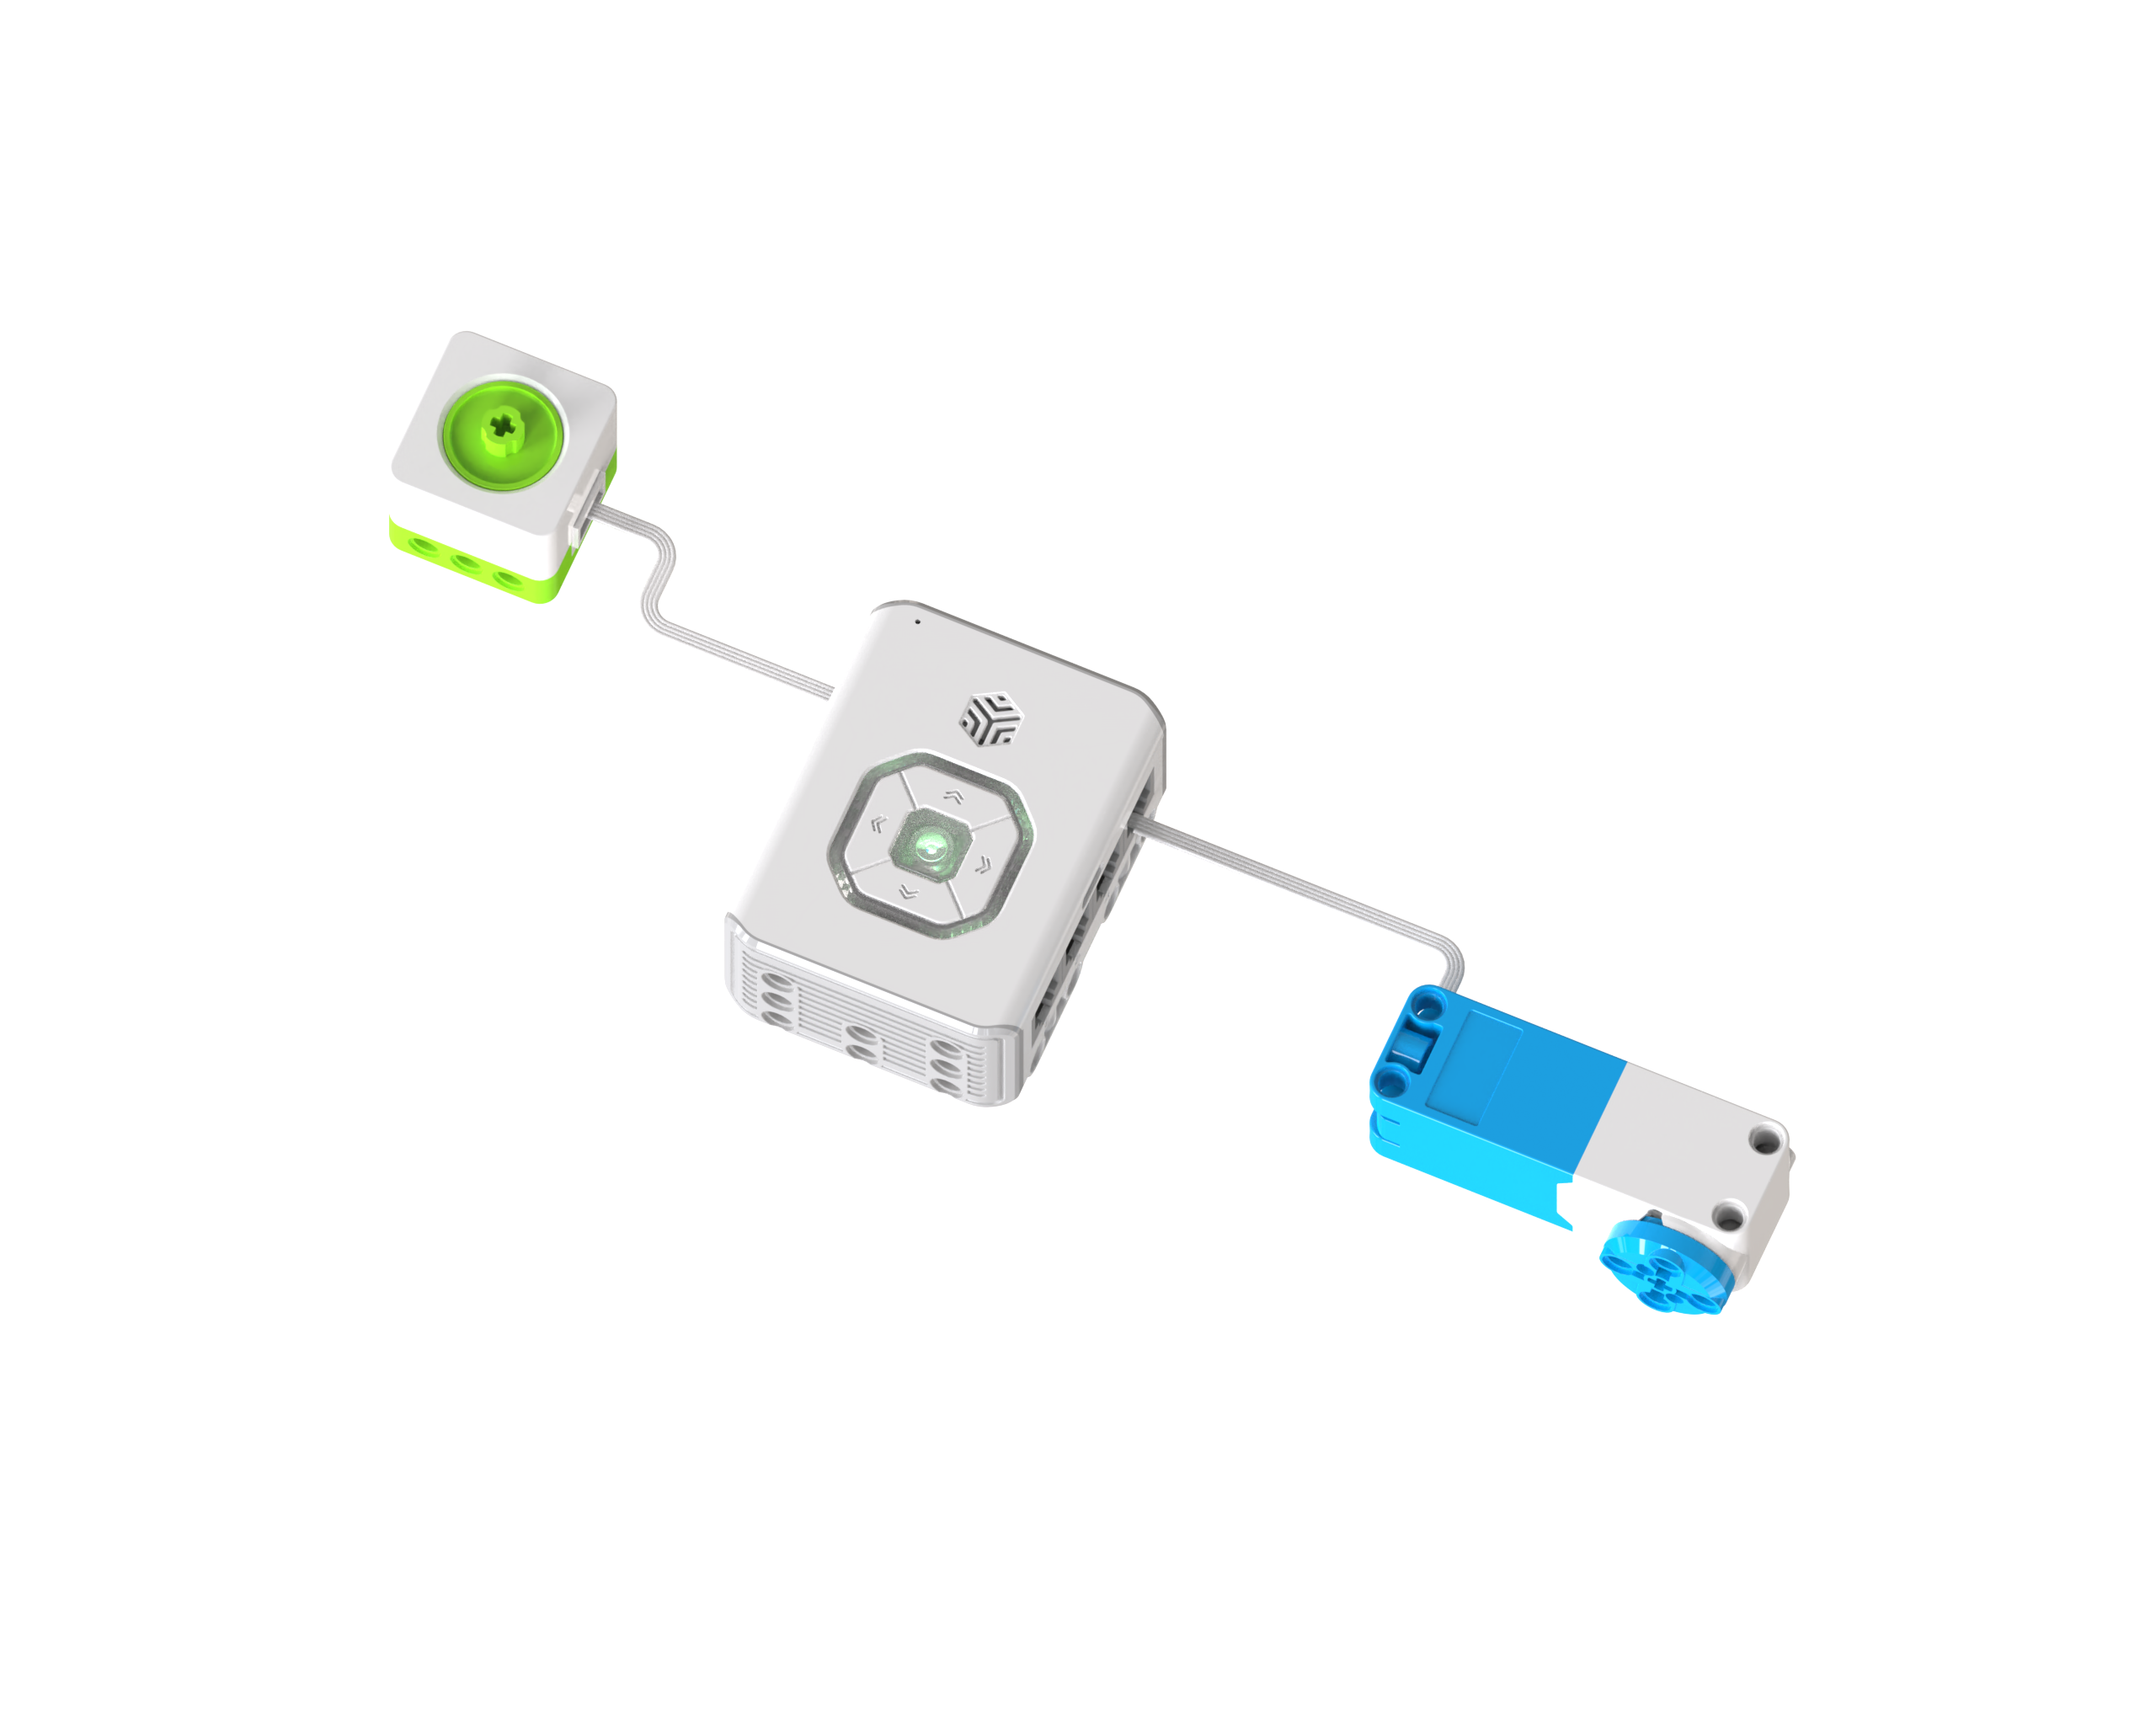
Logical Control: Encoder Sensor Controls Motor
Preparation
|
|
|
|---|---|---|
ICBricks Hub × 1 |
Servo Motor × 1 |
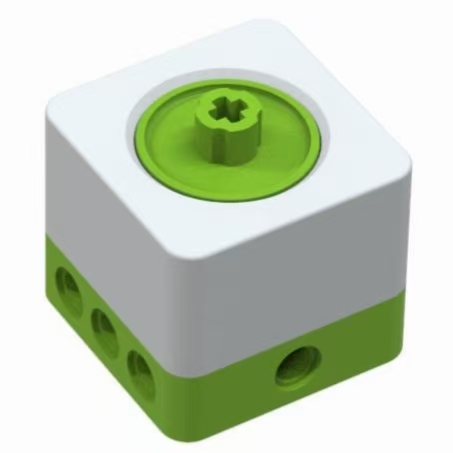
Encoder Sensor × 1 |


Connect Sensor and Actuator
Power on the hub. Use the RJ11 cable to connect the encoder sensor to port 1 of the hub. Connect the servo motor to port 2 using the RJ11 to grove cable.
Demonstration
Rotate the encoder sensor left and right to observe the movement of the servo motor.
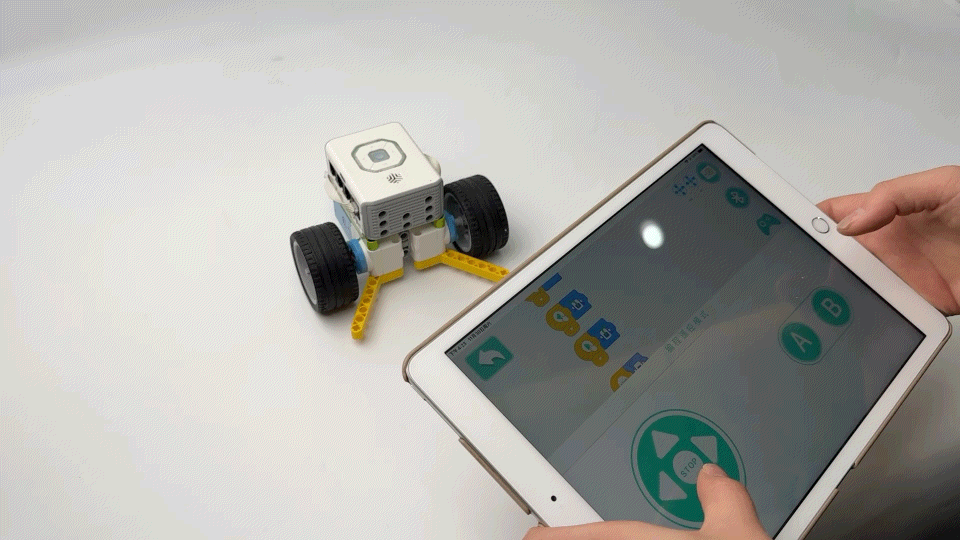
Programming Control: Remote-Controlled Car
Demonstration Effect:
Hardware Setup:
Preparation
|
 |
|
 |
|
 |
| :—: | — | — |
| ICBricks Hub × 1 | Servo Motors × 2
|
| :—: | — | — |
| ICBricks Hub × 1 | Servo Motors × 2
RJ11 to Grove Cables × 2 | LEGO bricks |
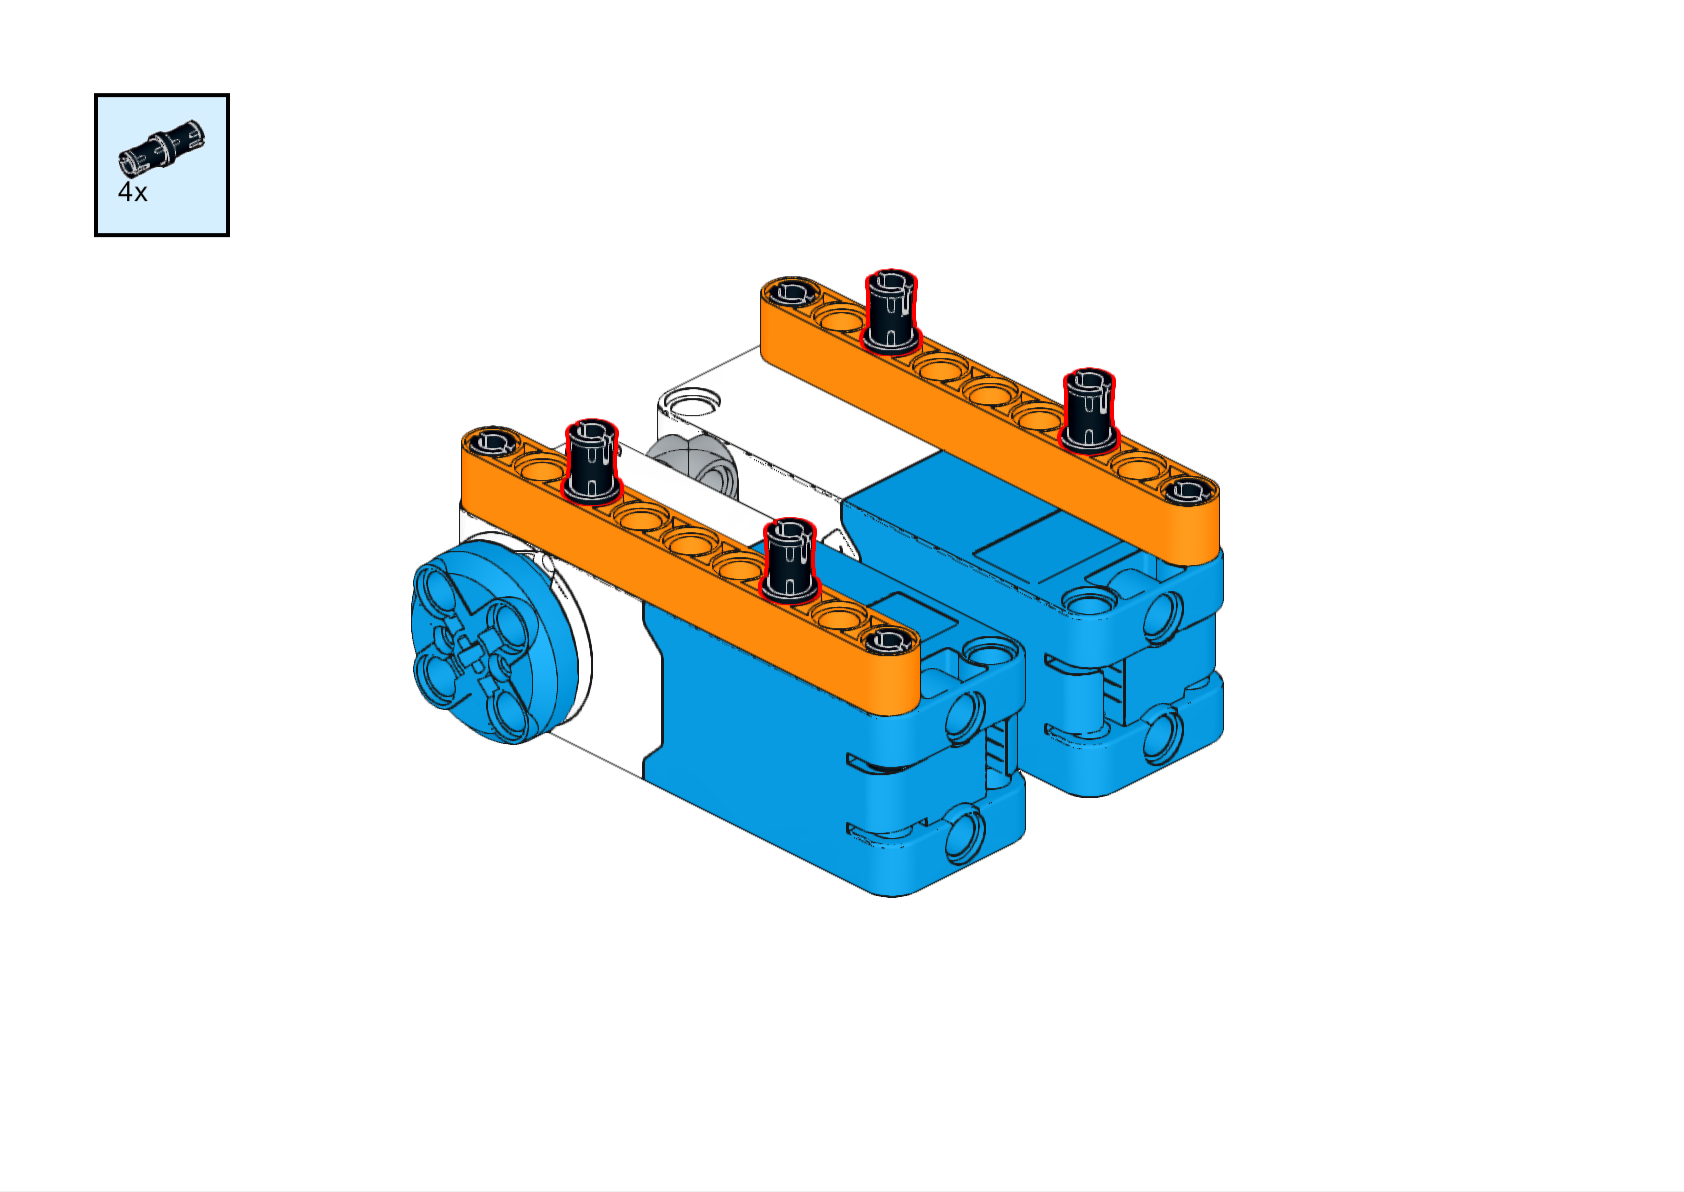
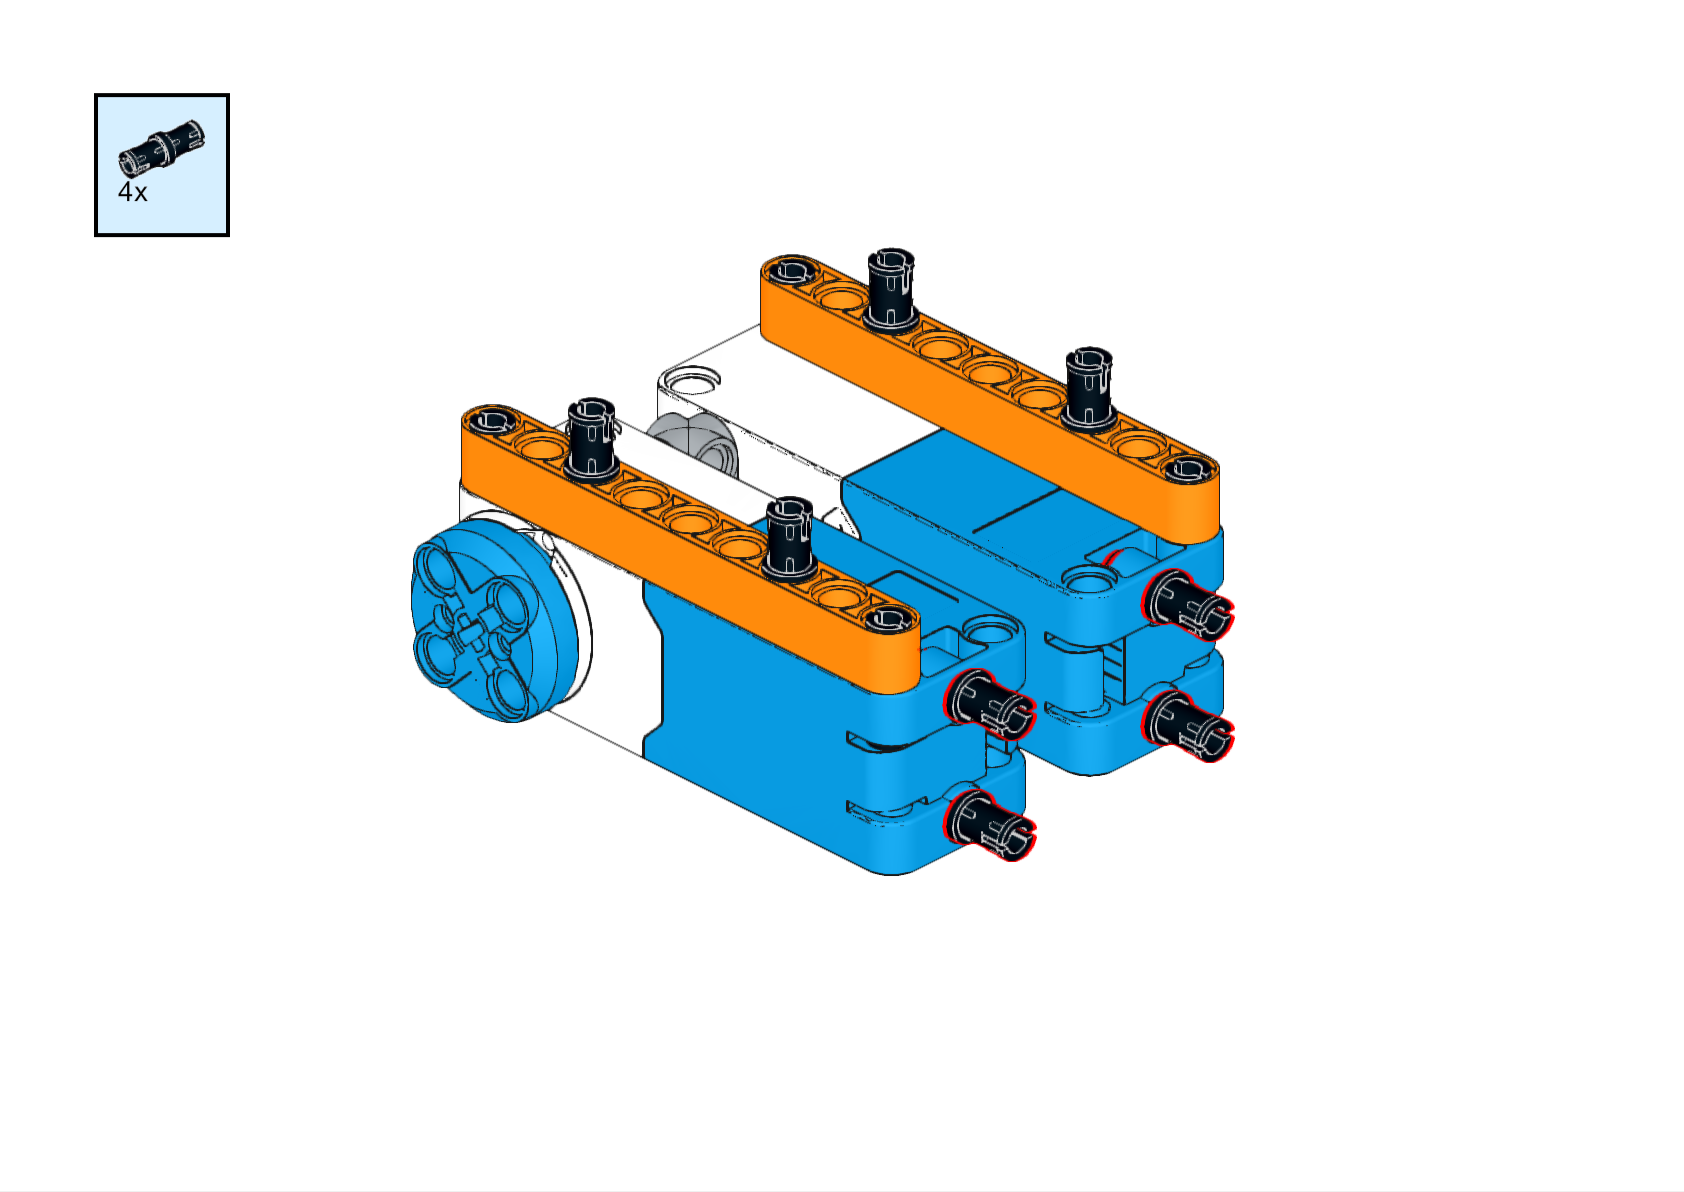
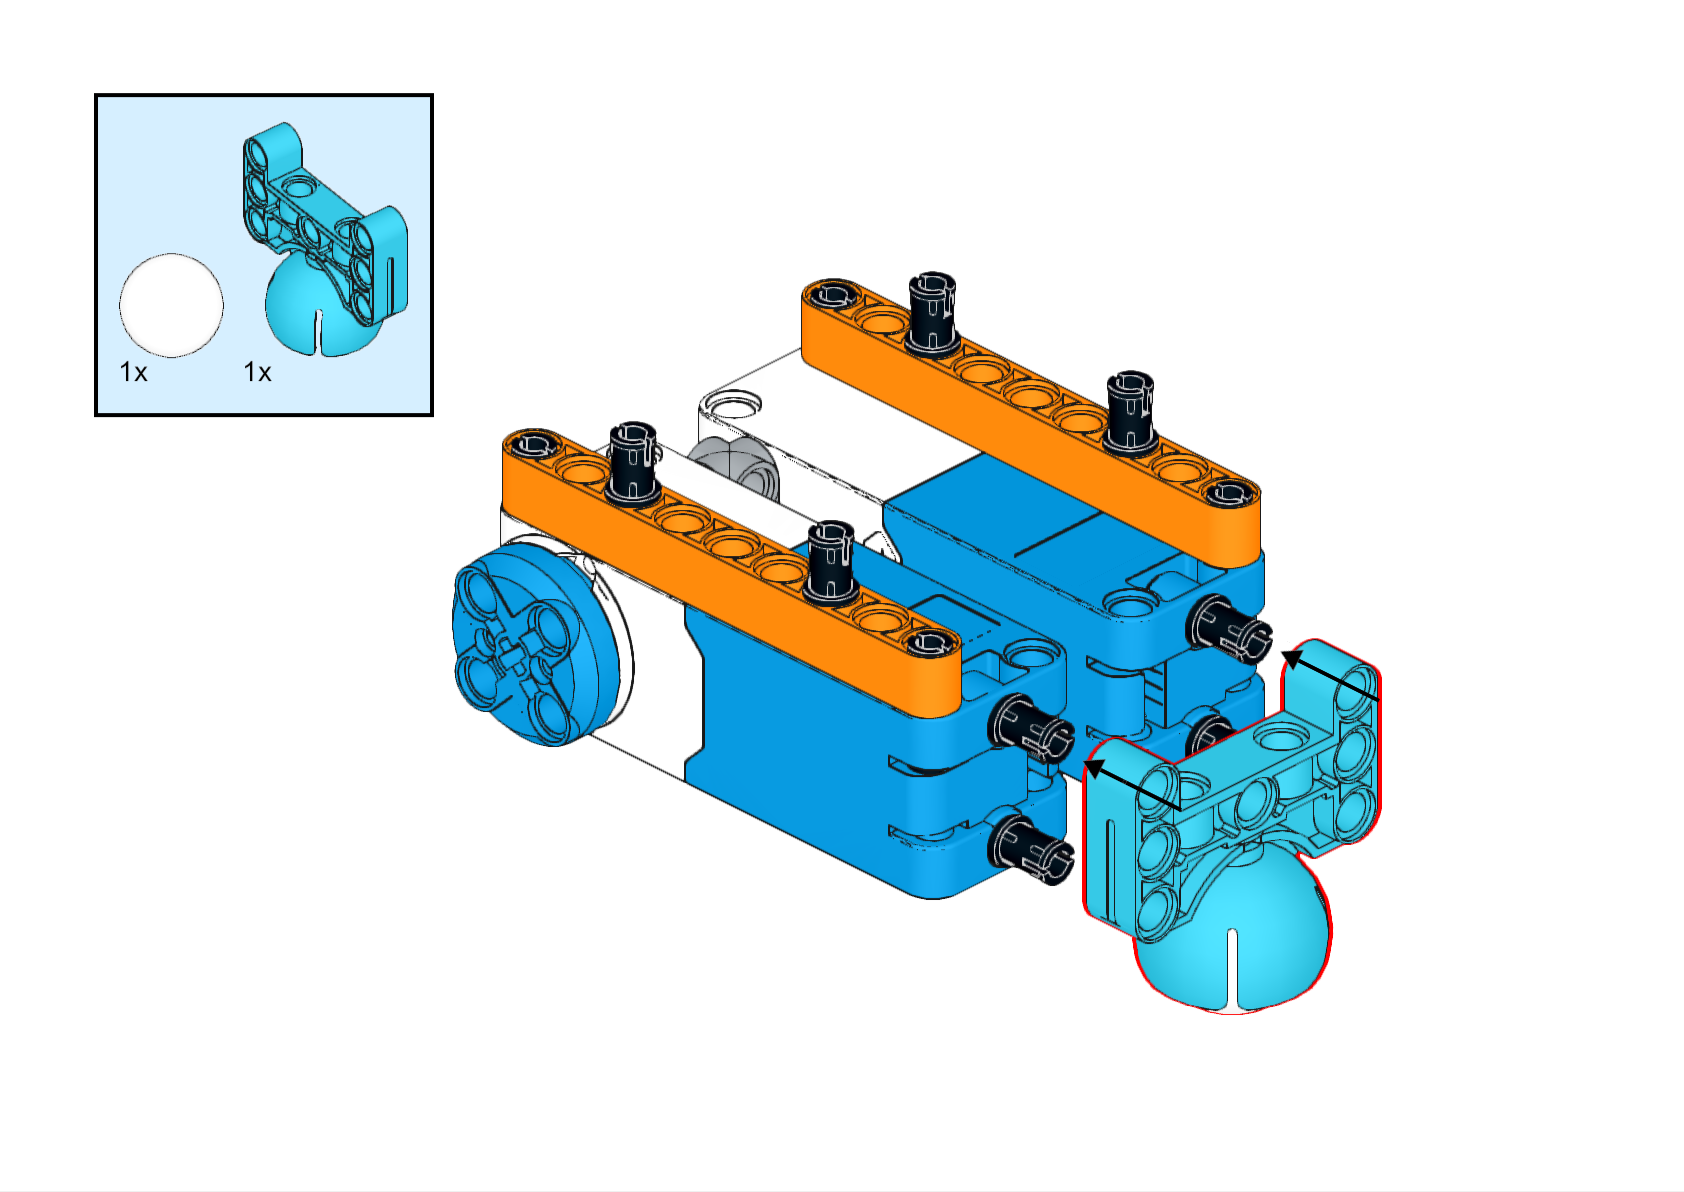
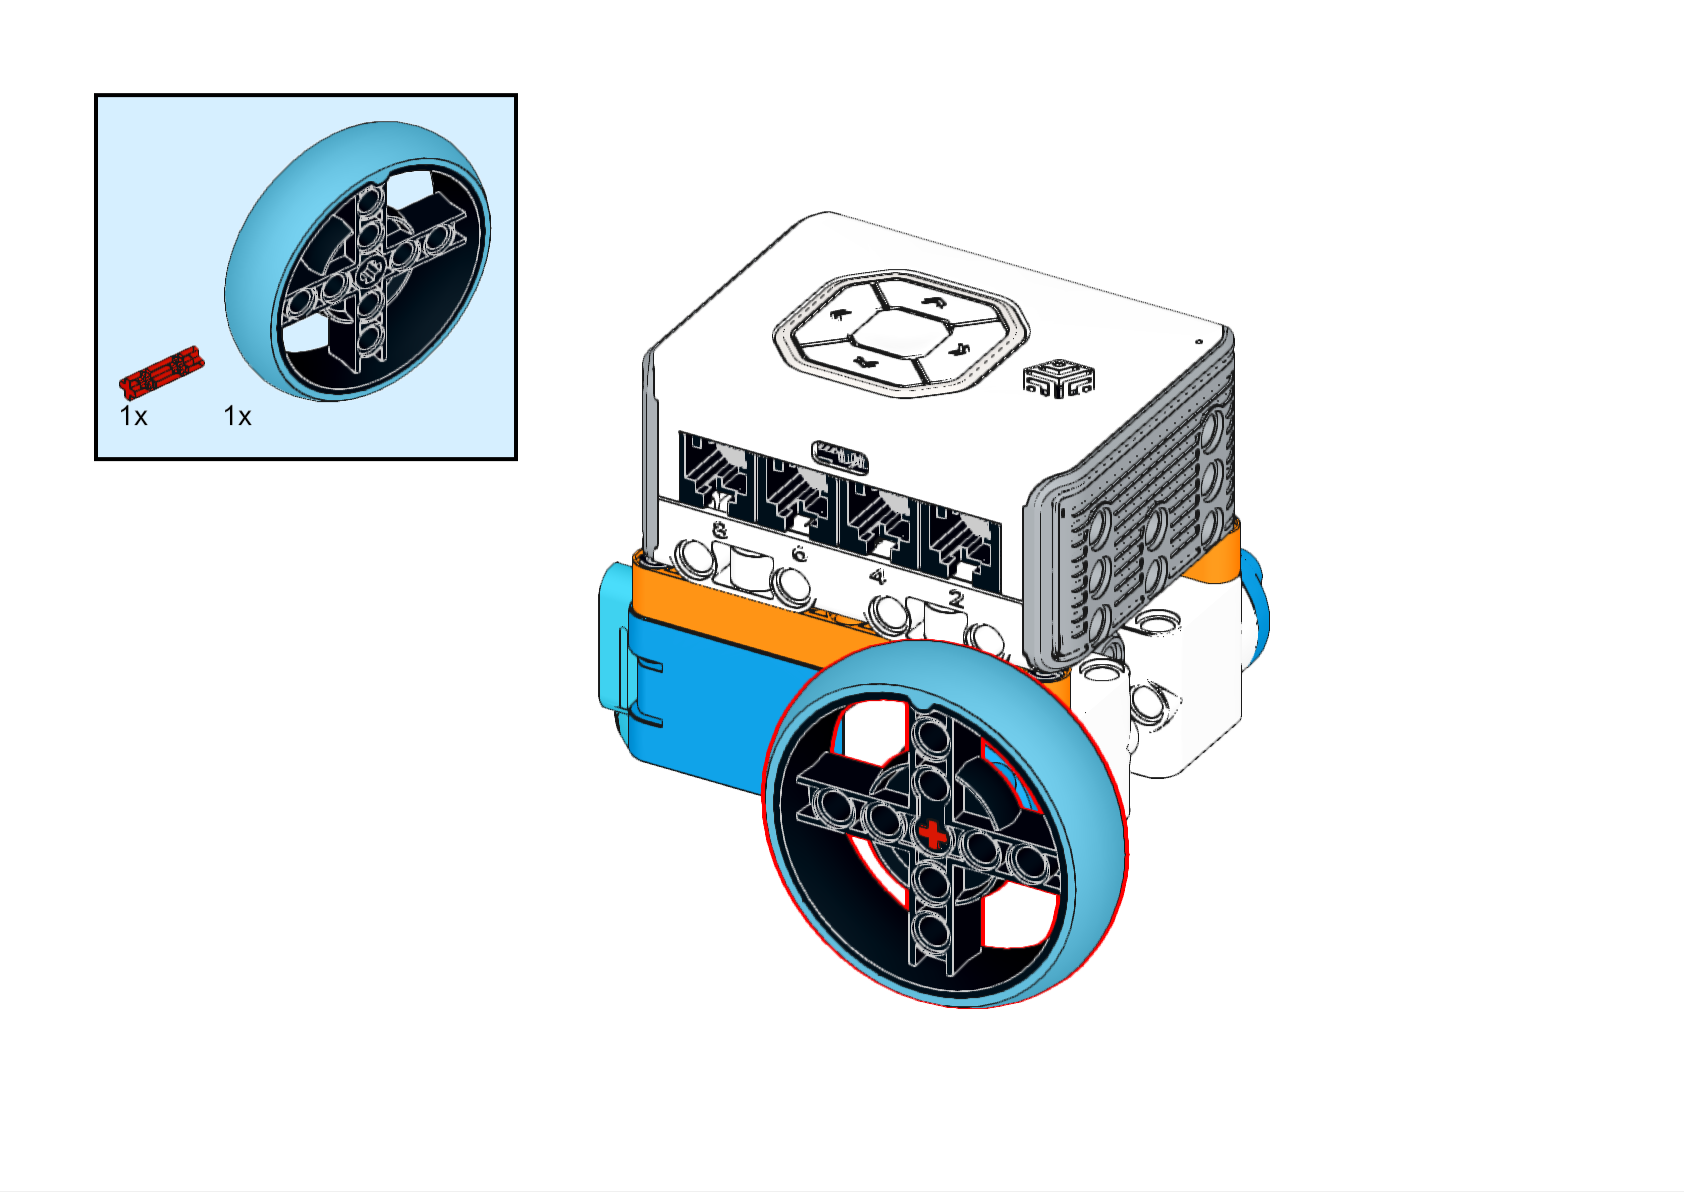
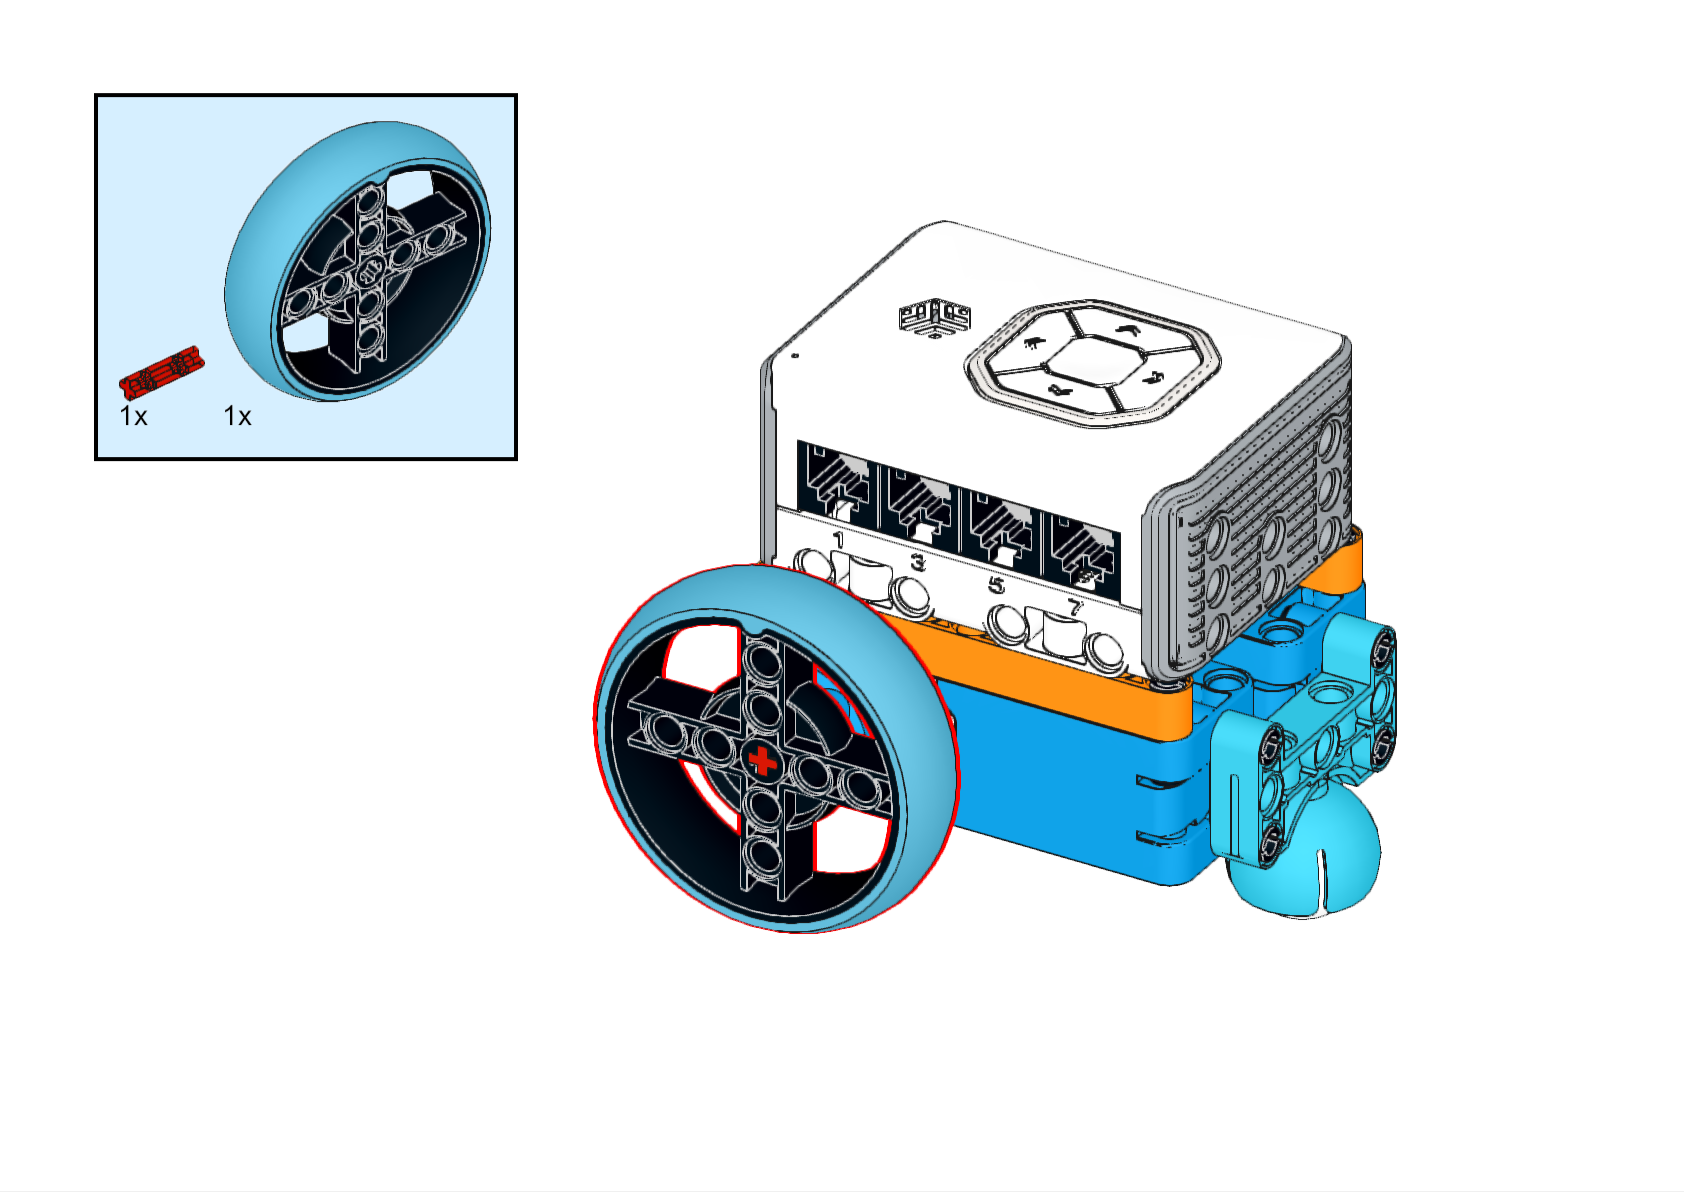
Steps:
|
 |
|
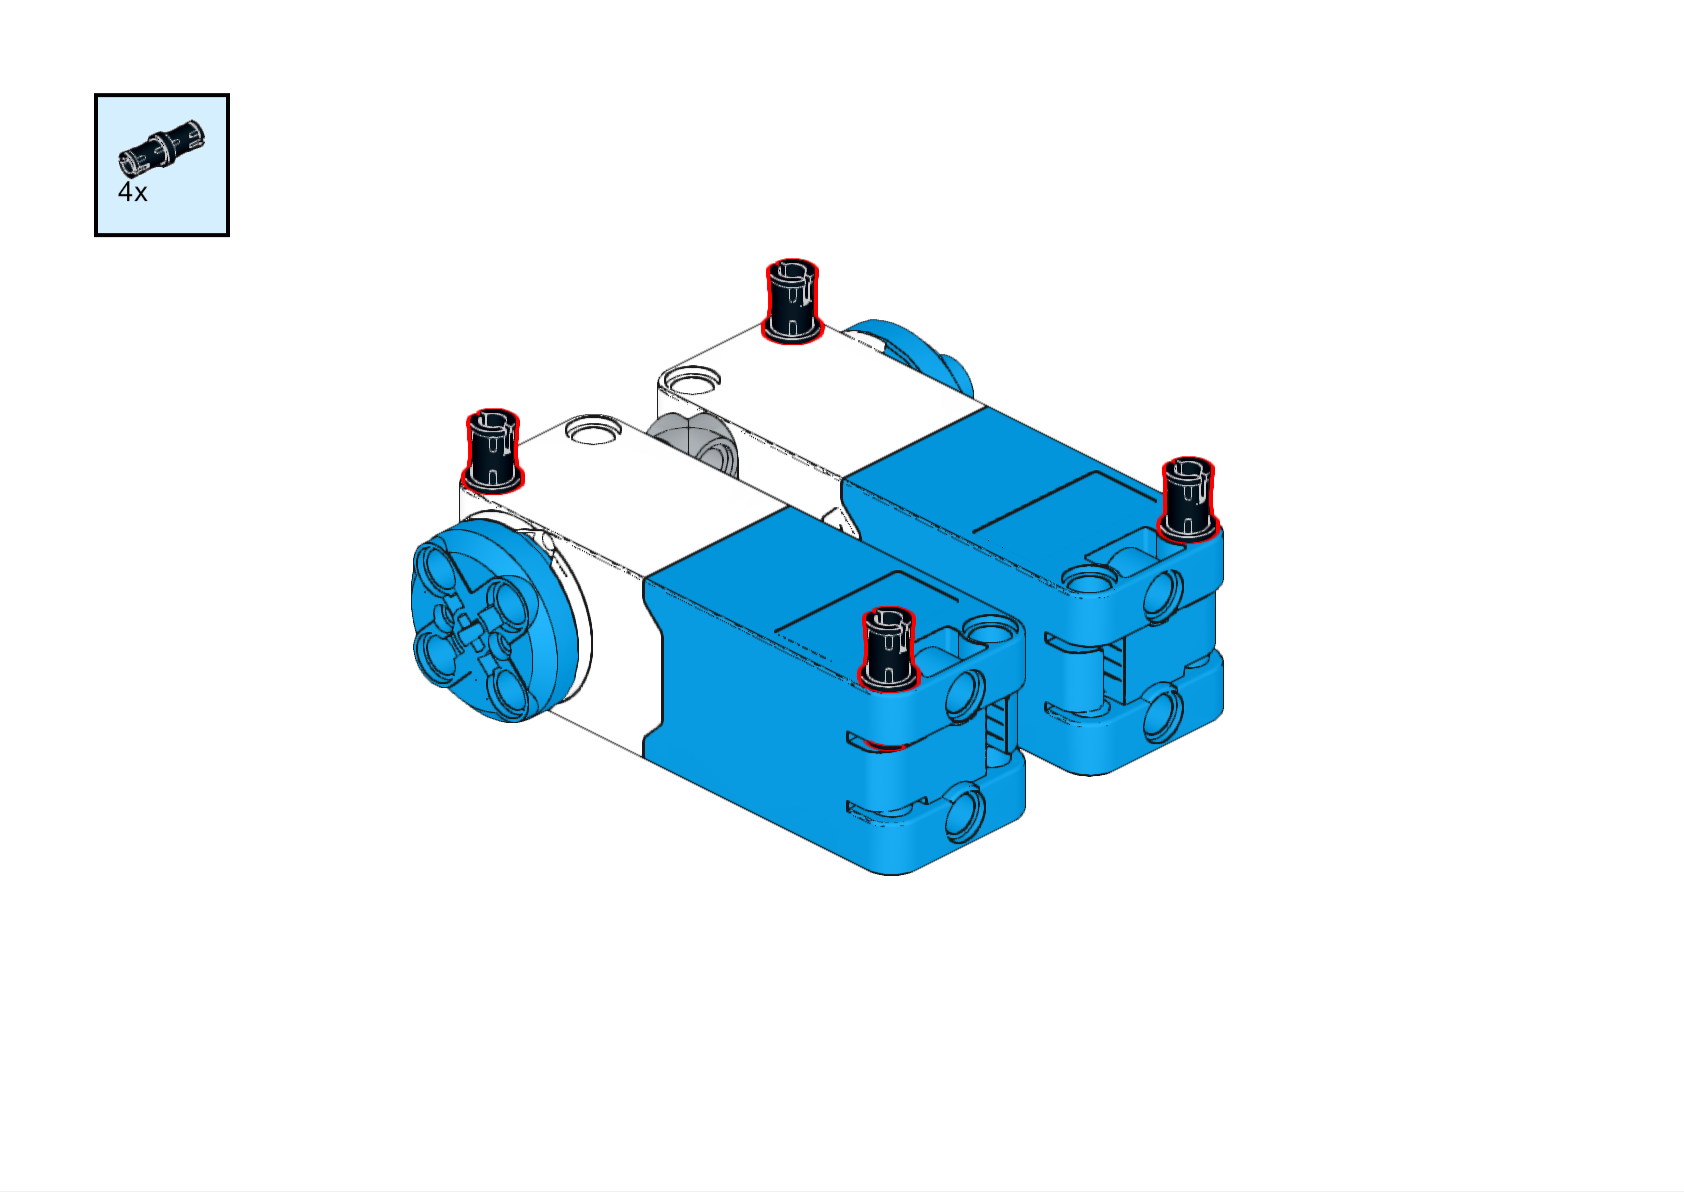 |
|
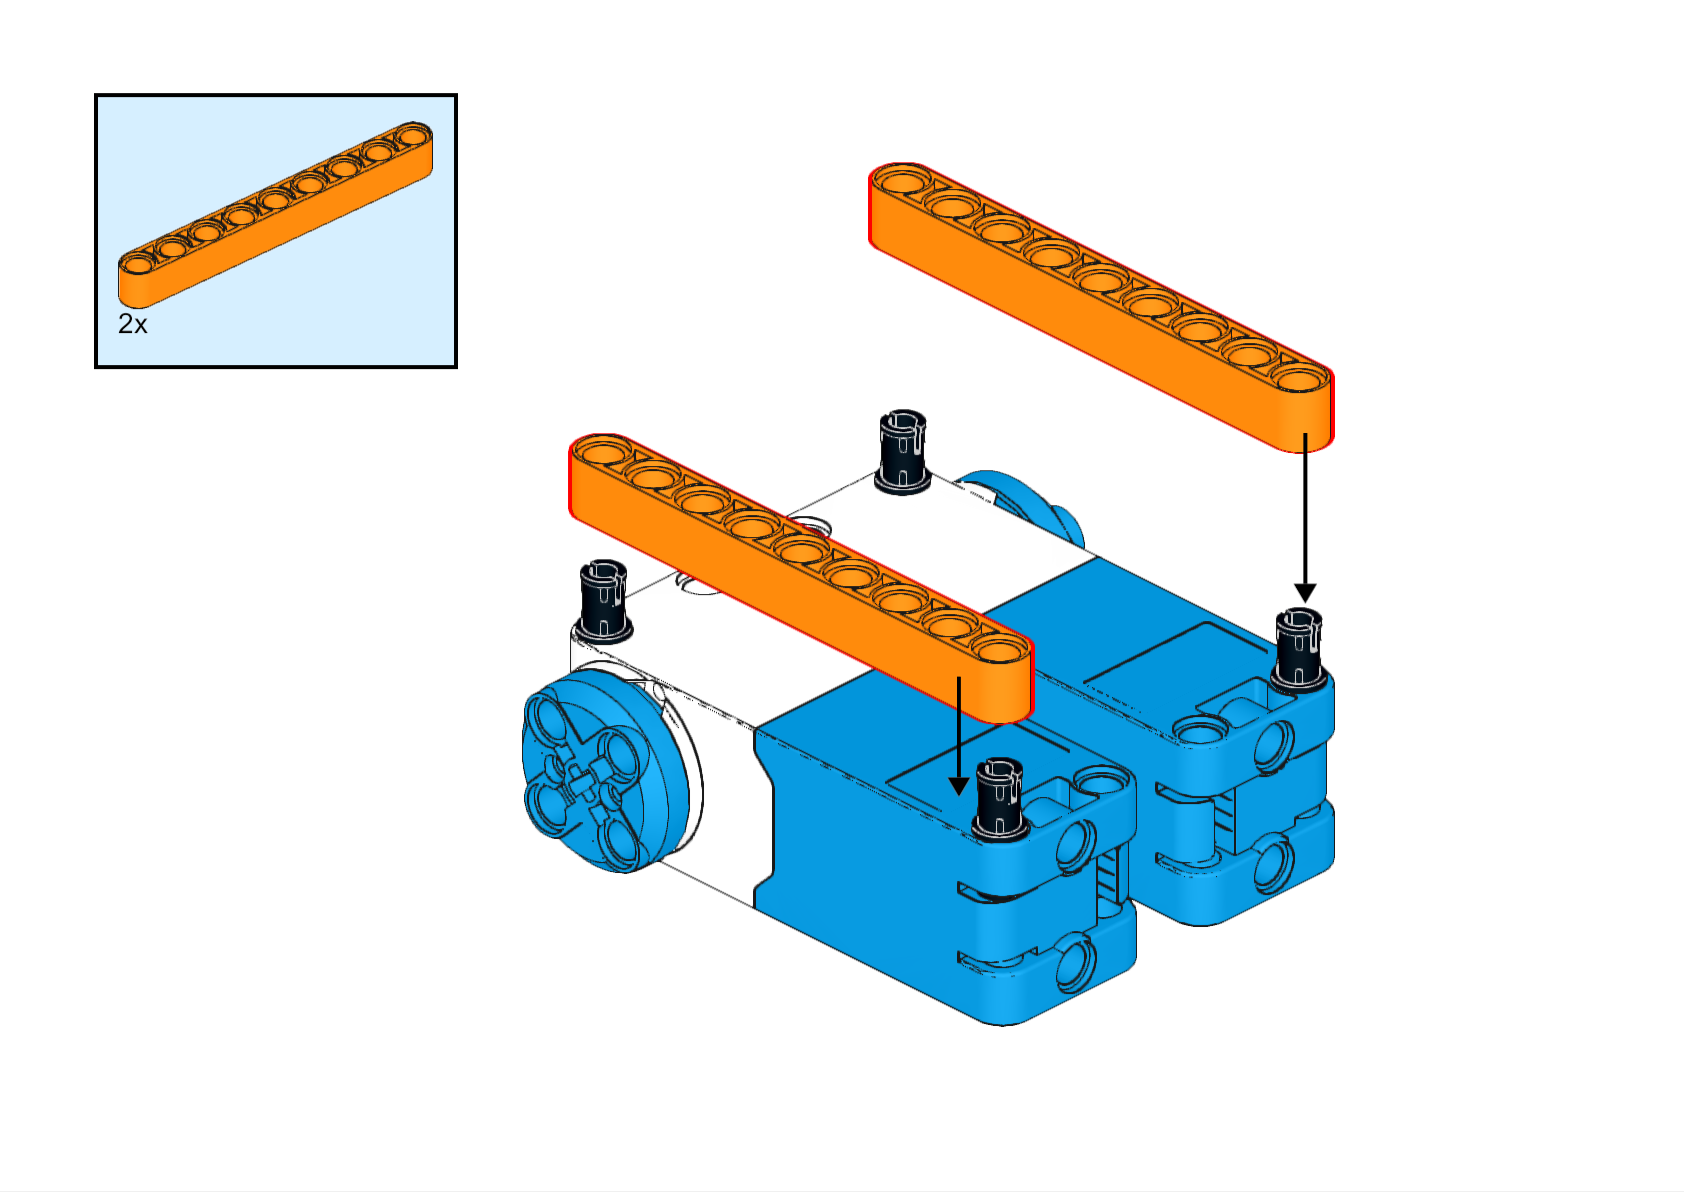 |
| :—: | :—: | :—: |
| Step ① | Step ② | Step ③ |
|
|
| :—: | :—: | :—: |
| Step ① | Step ② | Step ③ |
|
 |
|
 |
|
 |
| Step ④ | Step ⑤ | Step ⑥ |
|
|
| Step ④ | Step ⑤ | Step ⑥ |
|
 |
|
 |
|
 |
| Step ⑦ | Step ⑧ | Step ⑨ |
|
| Step ⑦ | Step ⑧ | Step ⑨ |
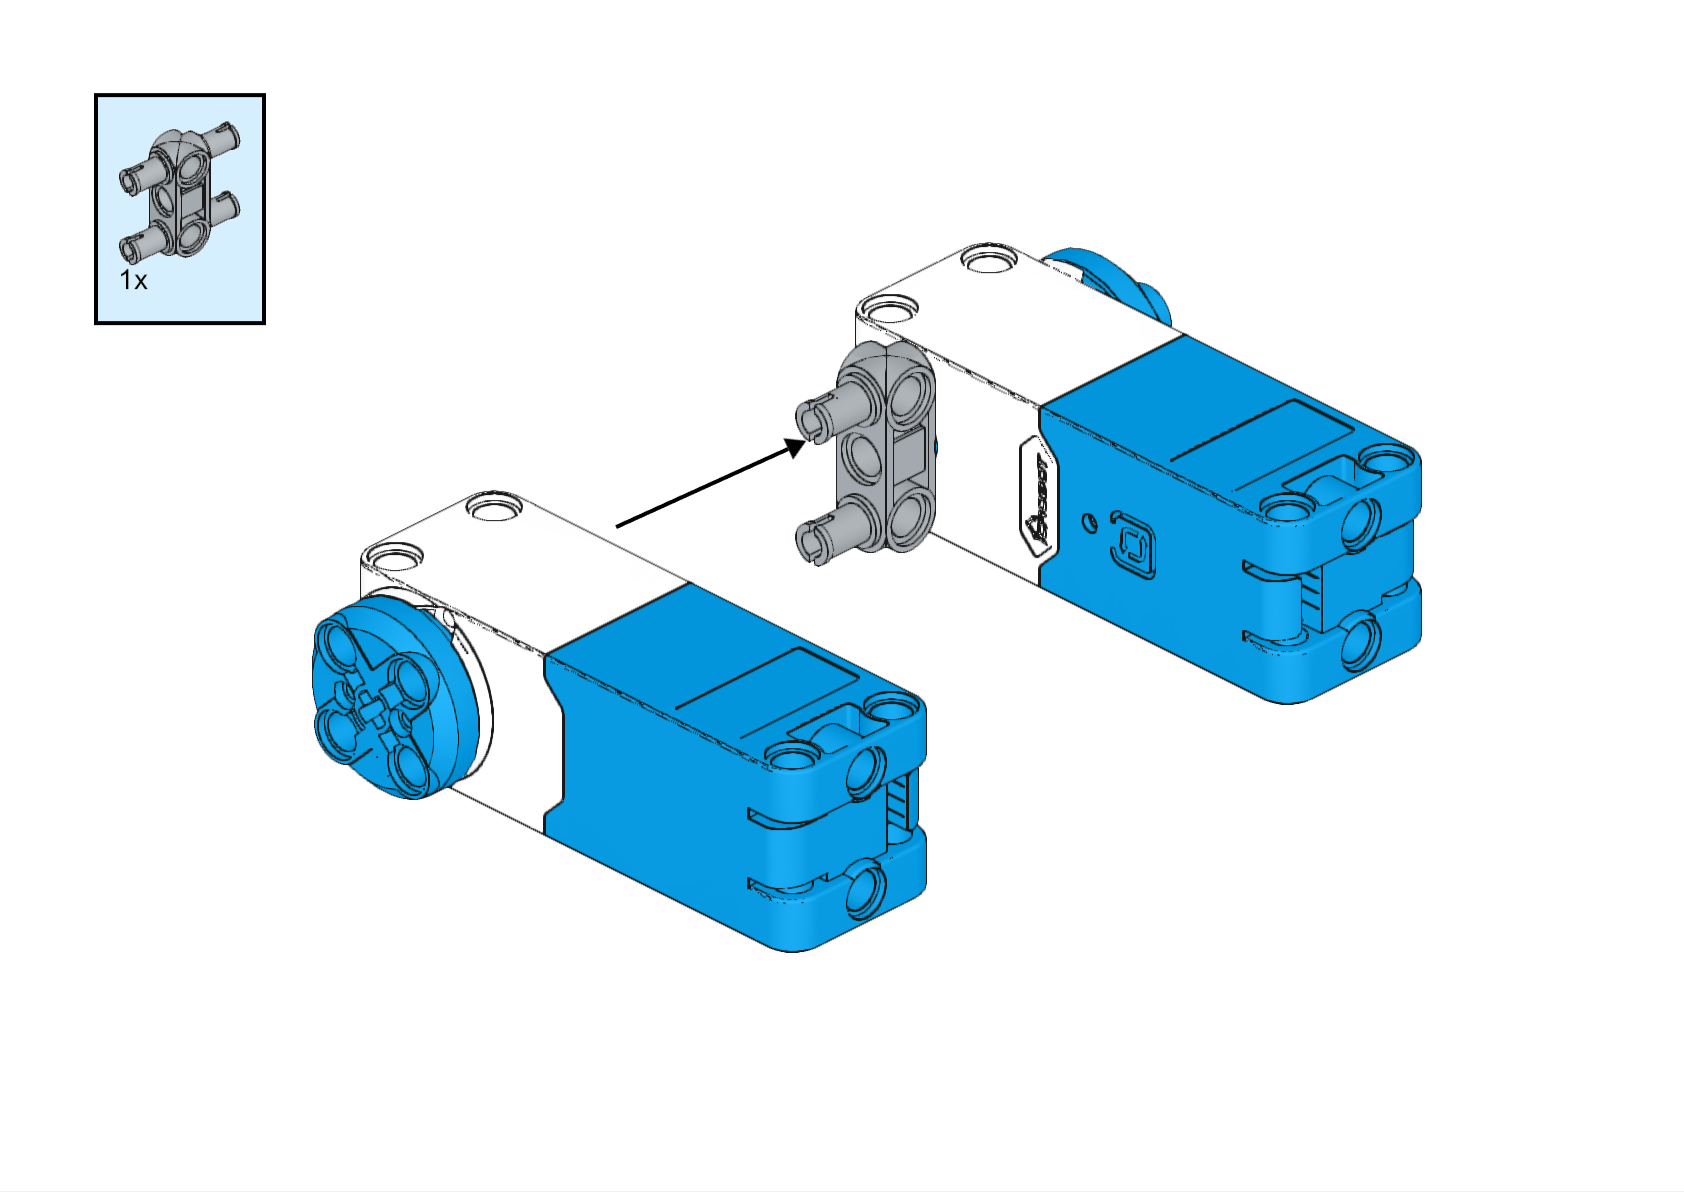
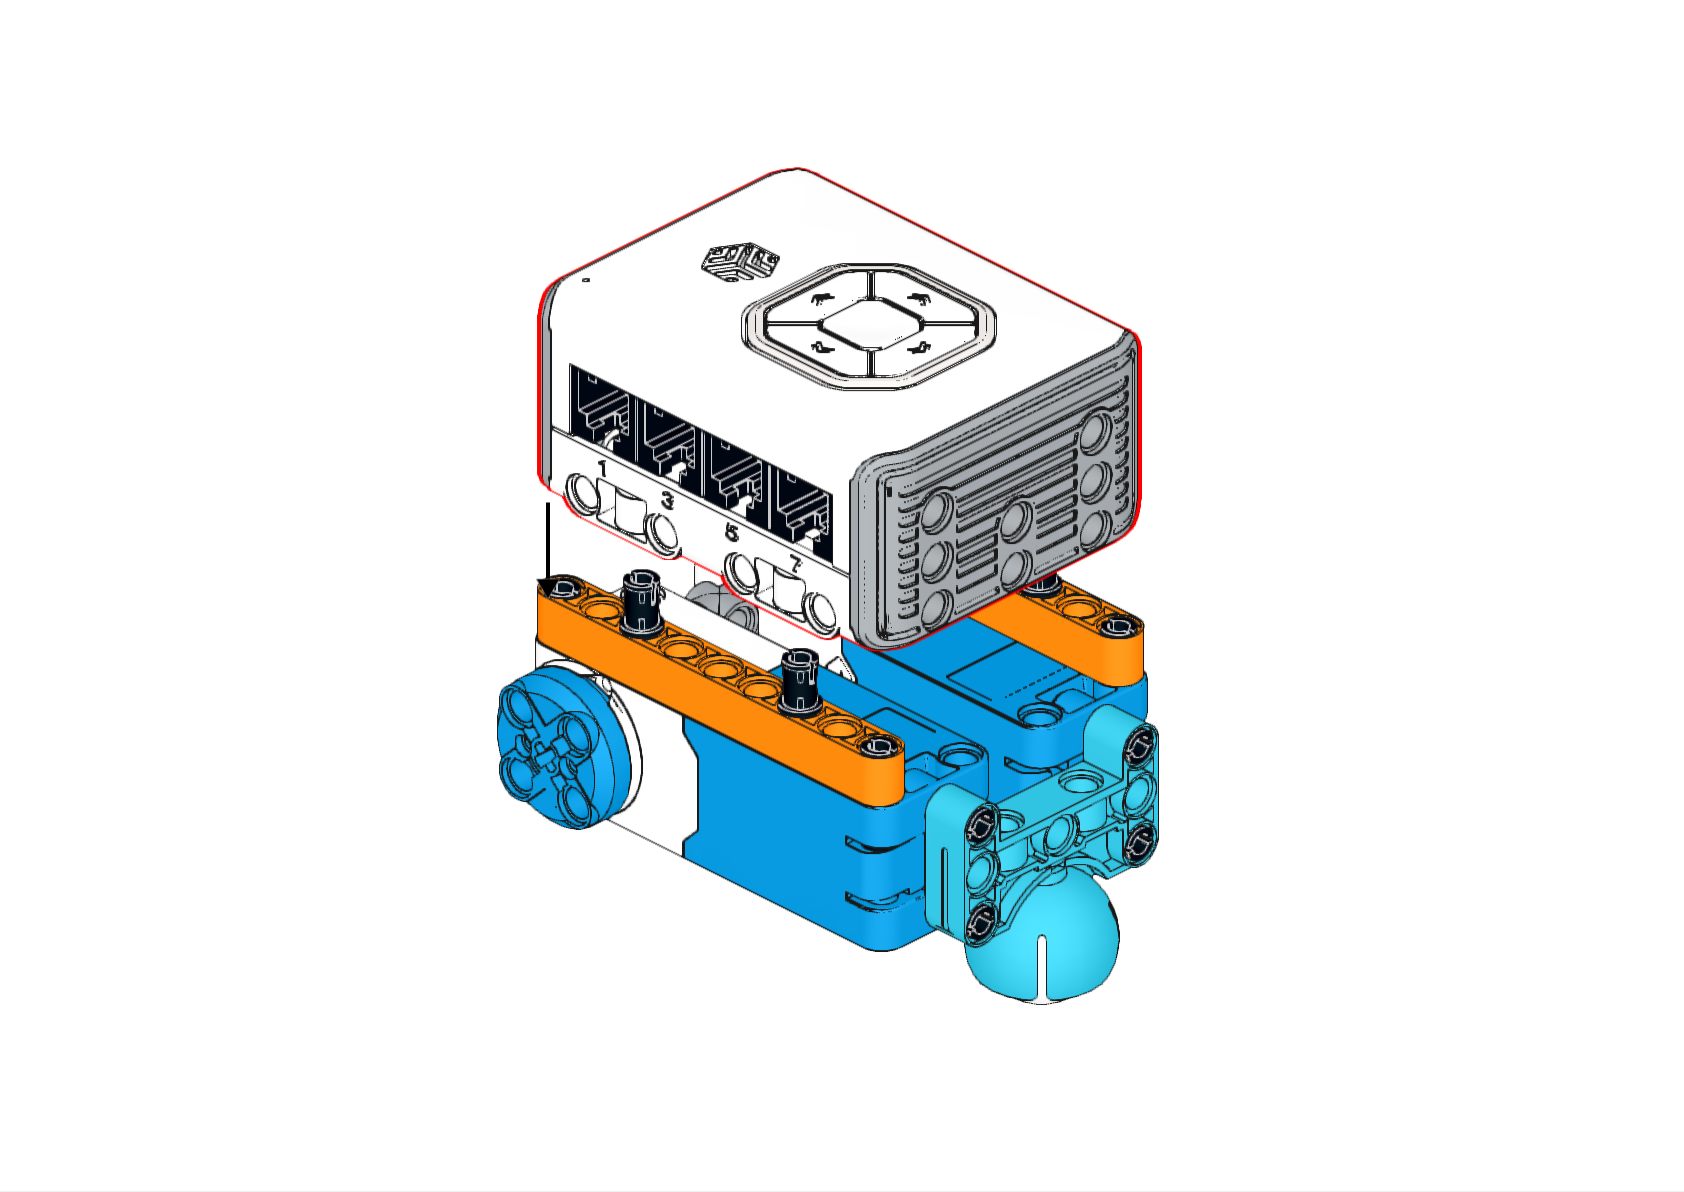
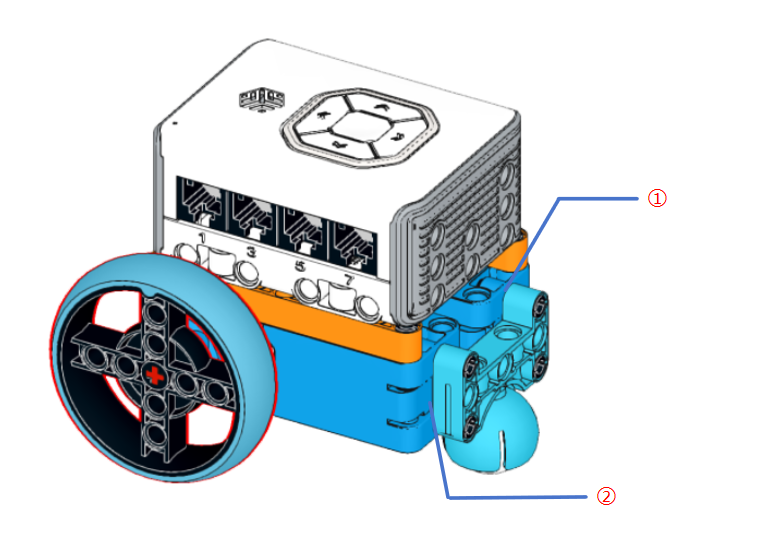
Connect Motors
Connect Motor 1 to port 1 and Motor 2 to port 2 of the hub.
Software Programming
Install the Software
** Click the following link to download the installation package: 👉 [Software Installation] **
Steps for Programming
**Step 1: Connect Bluetooth **
Before using the programming software, ensure that location and Bluetooth permissions are enabled, and the hub is powered on.
Open the ICBricks programming software, tap the Bluetooth button, select the hub’s name, and click connect.
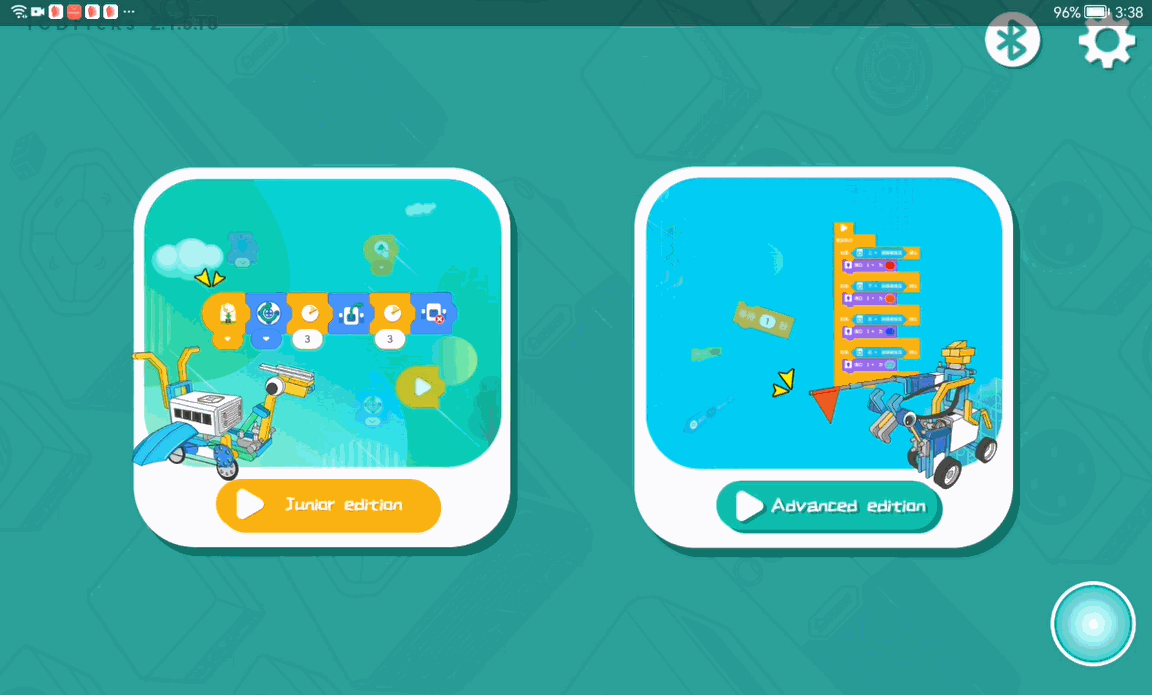
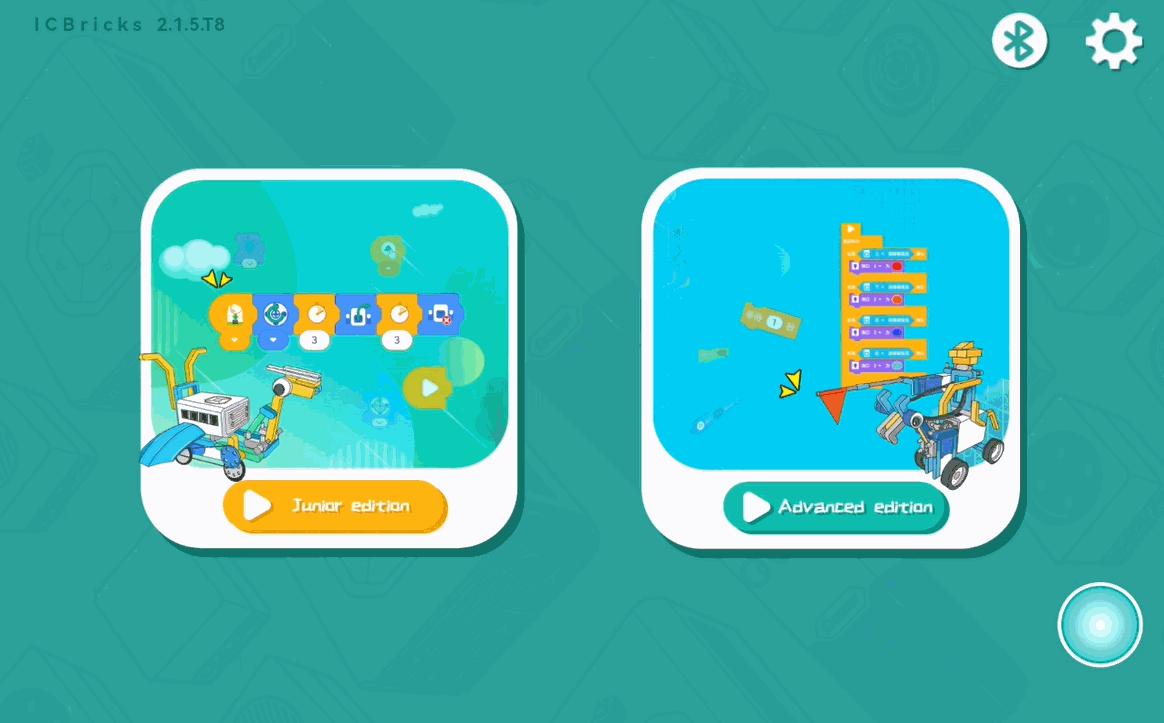
**Step 2: Create a New Project **
Tap the Beginner Version icon to enter the project interface. Click “New Project” to access the beginner programming interface.
**Step 3: Program the Project **
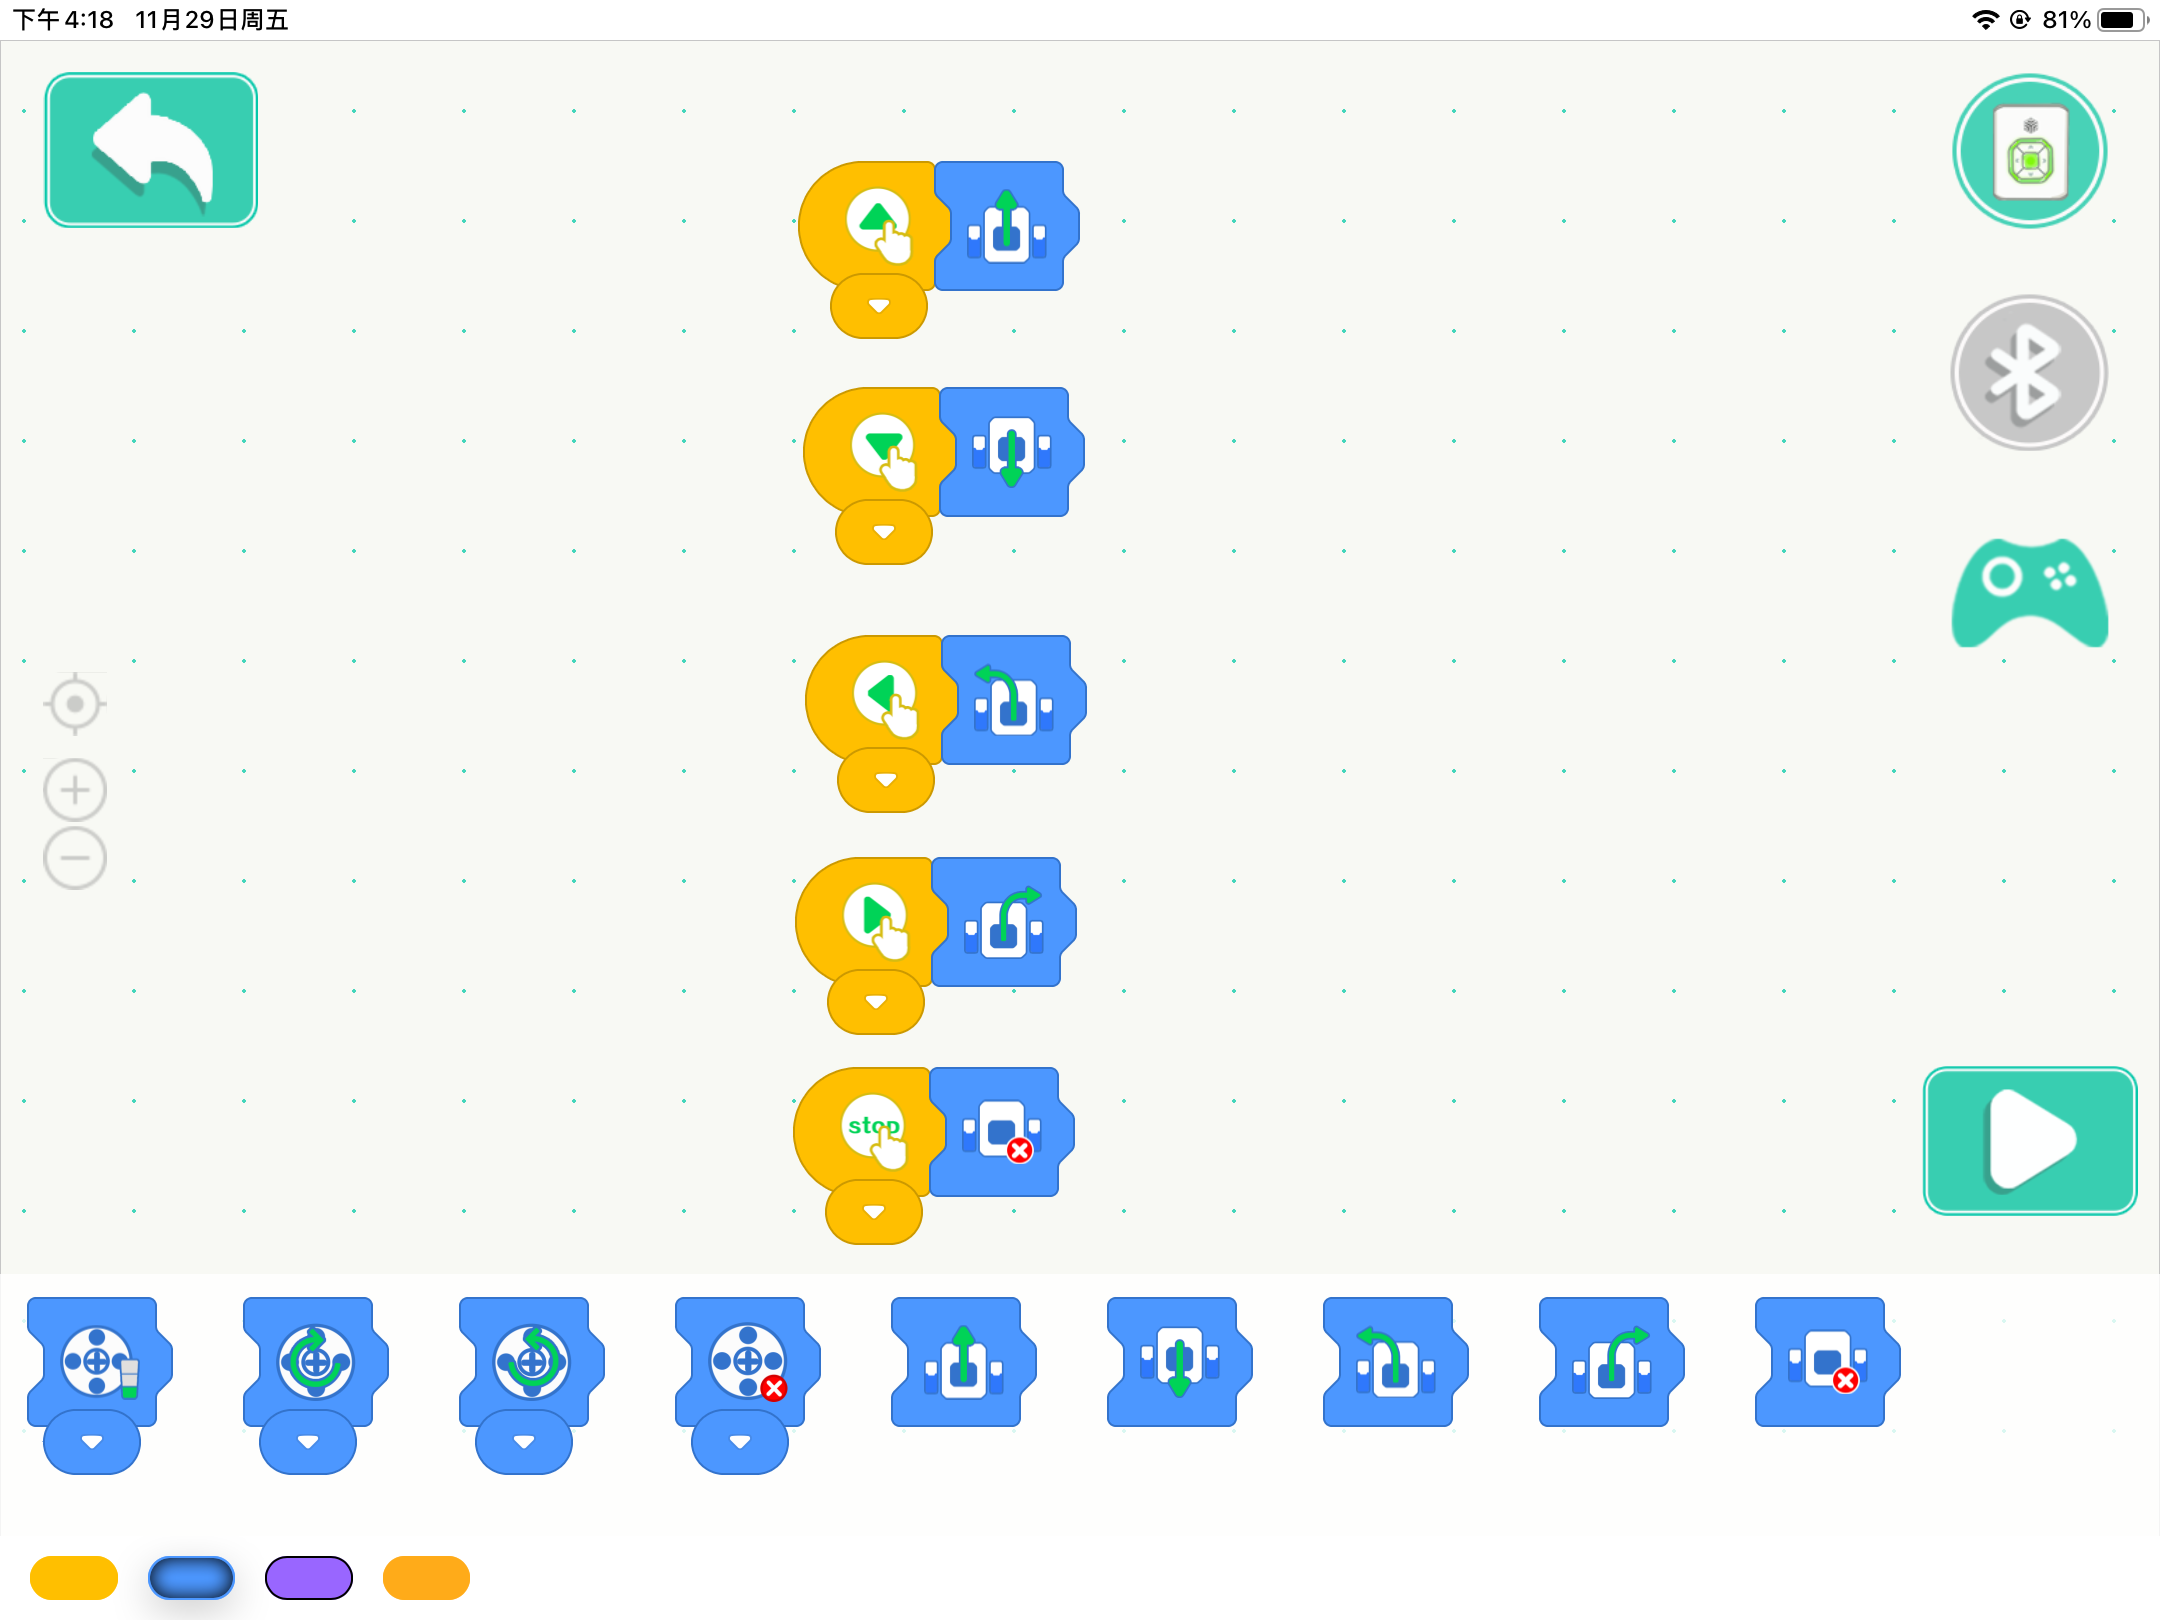
Use the five remote control buttons (“🔼,” “🔽,” “◀️,” “▶️,” “stop”) to control the car’s forward, backward, left, right, and stop movements.
Select the module shown in the yellow block and drag it to the programming area. Click the dropdown arrow to select the “🔼” direction.
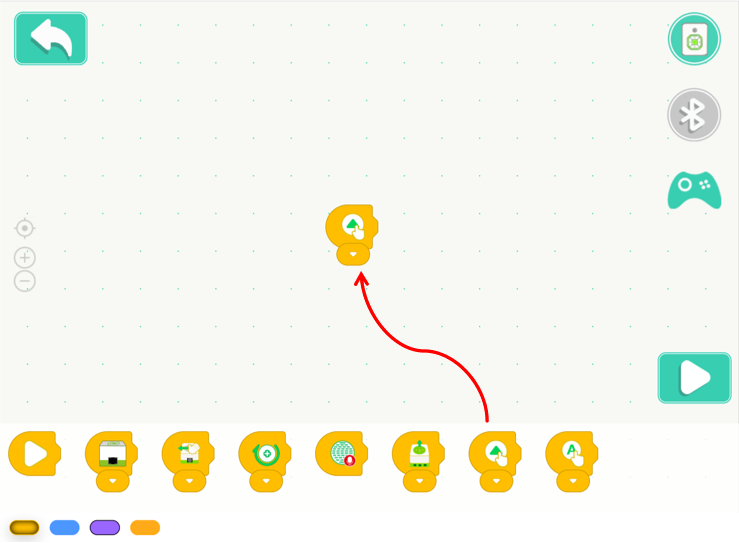
Select the module shown in the blue block and drag it to the programming area.
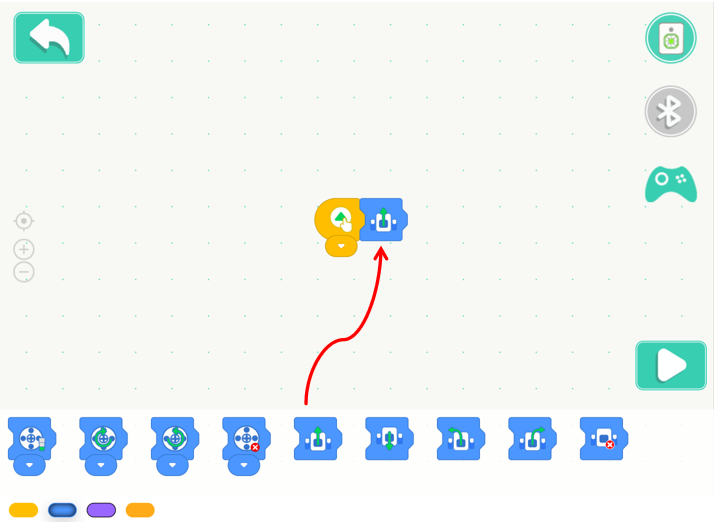
Similarly, program the other four directions (Backward “🔽,” Left “◀️,” Right “▶️,” and Stop “stop”).
**Step 4: Run the Program **
Click the run button to execute the program. Open the remote control and operate the robot.
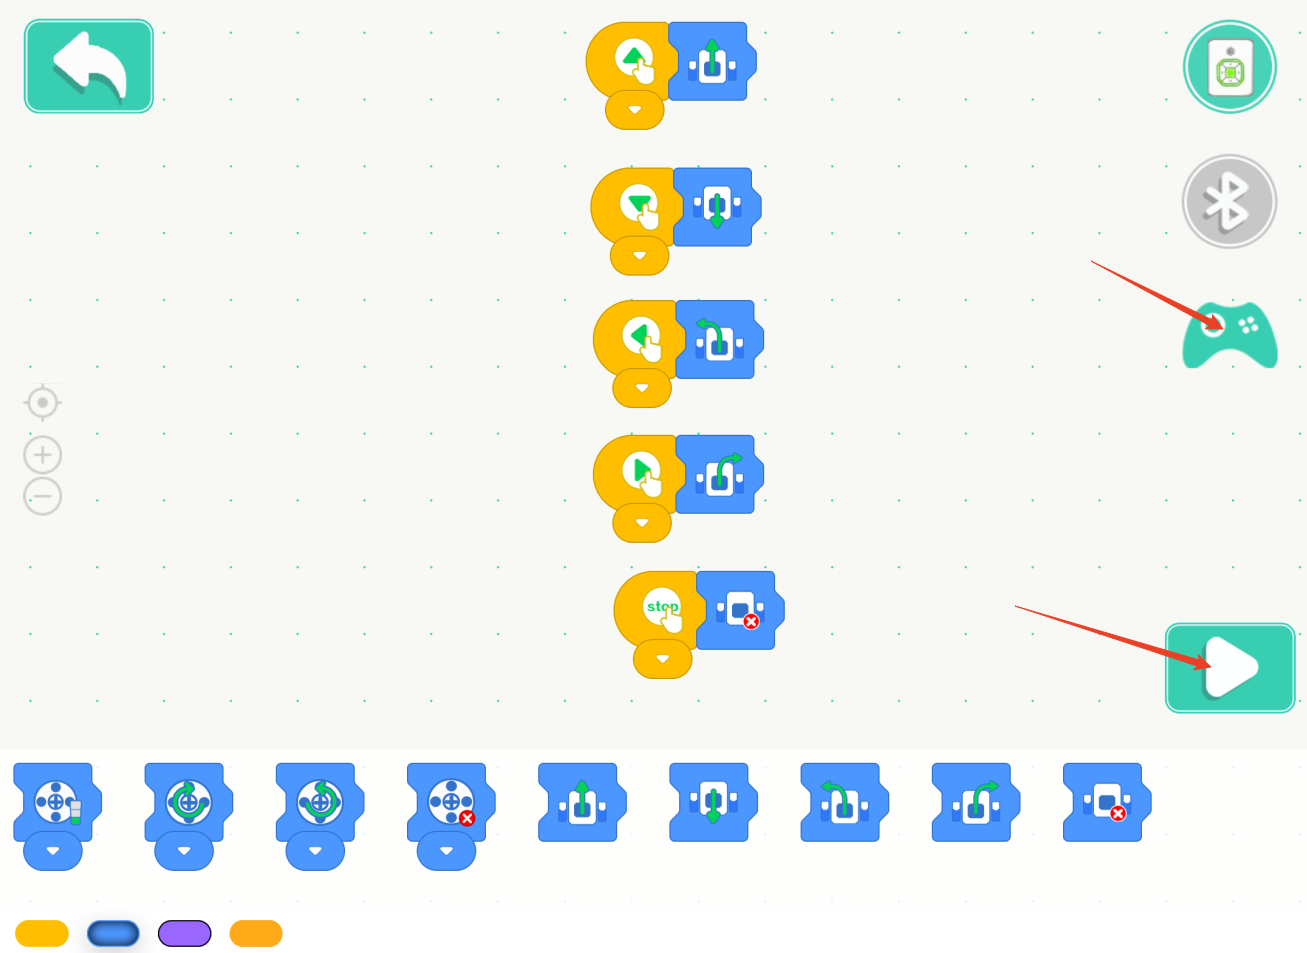
Demonstration
By pressing different buttons, you can control the car to perform various movements.
